
Come misurare la lunghezza del tubo di immersione – La guida completa per bottiglie, pompe e spruzzatori
Ogni flacone con pompa ha una parte a cui nessuno pensa finché non smette di funzionare: il tubo di aspirazione. Si tratta della cannuccia di plastica all’interno del flacone, la cui lunghezza determina se il prodotto verrà erogato fino all’ultima goccia o se rimarrà un pollice di prodotto nel flacone. Che si tratti di sostituire uno spruzzatore, di abbinare una pompa a un flacone di serie o di ordinare flaconi con pompa da un fornitore, misurare correttamente la lunghezza del tubo di aspirazione fa la differenza tra un lancio di prodotto di successo e una serie ininterrotta di reclami del tipo “perché non eroga?”.
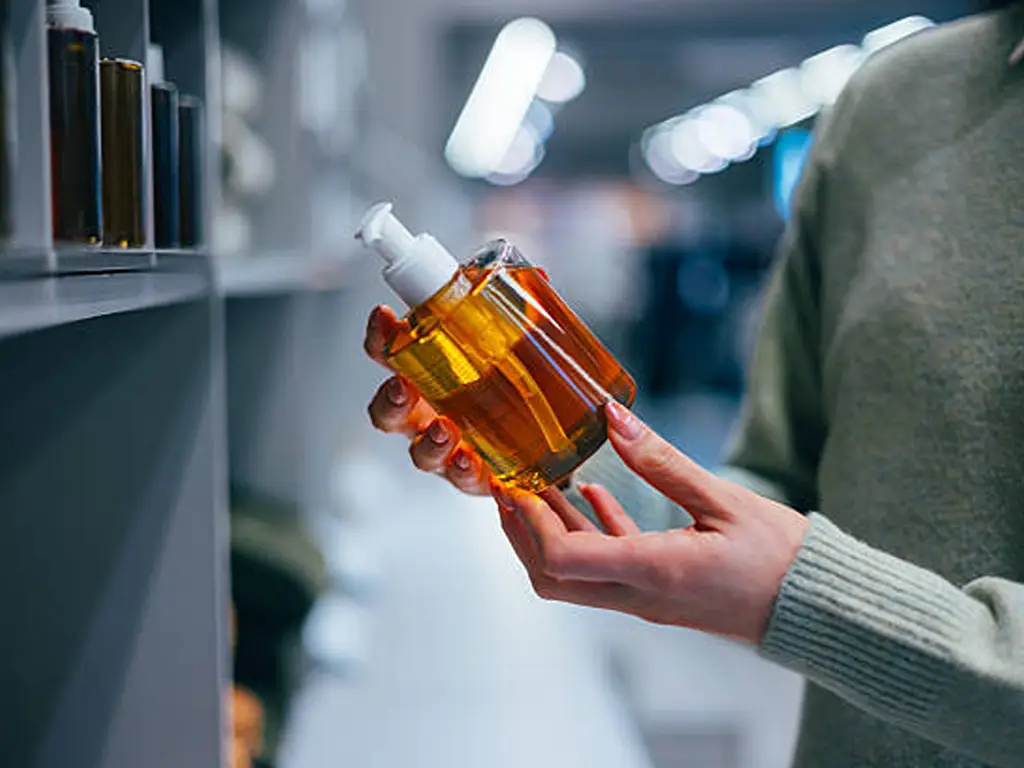
Che cos’è un tubo di immersione e perché la sua lunghezza rappresenta un problema?
Un tubo di immersione è il tubo di aspirazione situato nella parte inferiore di una pompa o di uno spruzzatore. Avvitando il tappo su una bottiglia, il tubo rimane appeso all’interno. Premendo l’azionatore, la pompa aspira il liquido attraverso il tubo e lo espelle dall’ugello. Se il tubo non riesce a raggiungere il liquido, non esce nulla, indipendentemente dall’efficienza della pompa.
Questo semplice meccanismo spiega le due direzioni di rottura:
- Un tubo troppo corto lascia il punto di prelievo sospeso sopra il fondo. La pompa smette di aspirare mentre il prodotto è ancora nella bottiglia. Di solito il residuo è visibile, poiché l’imboccatura del tubo si trova fisicamente al di sopra del prodotto.
- Un tubo troppo lungo si guasta senza dare alcun segnale. Premuta contro il fondo del contenitore, blocca la propria presa d'aspirazione. Durante la tappatura e il trasporto può inoltre piegarsi o rompersi a causa di urti. La pompa, in questo caso, “funziona”, ma non eroga il prodotto.
Ecco perché a volte un flacone con dosatore nuovo di zecca viene spedito con il tubicino sospeso sopra il fondo. Non si tratta di una produzione approssimativa. I produttori di dosatori lasciano intenzionalmente uno spazio vuoto affinché il tubicino non tocchi mai la base, dove potrebbe incrinarsi durante la tappatura automatizzata o rompersi durante la spedizione. I marchi compensano riempiendo il flacone leggermente al di sopra del volume indicato sull’etichetta: i dosatori sono progettati per erogare la quantità stampata, non necessariamente fino all’ultima goccia, come ha affermato senza mezzi termini un ex ingegnere di imballaggio in un thread sui forum dei consumatori ampiamente condiviso. Comprendere questo compromesso è il primo passo. Non si tratta di correggere un difetto, ma di regolare una tolleranza.
Una precisazione terminologica prima di proseguire: il termine “dip tube” si riferisce anche al tubo di ingresso dell’acqua fredda all’interno degli scaldabagni e al tubo del vapore nei serbatoi di propano. Si tratta di componenti diversi, con una logica di lunghezza completamente diversa. Questa guida riguarda il tubo di aspirazione presente nelle pompe per flaconi e negli spruzzatori, ovvero quello che dosa lozione, siero, profumo e detergente.
Non tutti i distributori trattano il proprio tubo di immersione allo stesso modo
Prima di effettuare qualsiasi misurazione, verifica a quale famiglia di dosatori appartiene il tuo prodotto. È il tipo di pompa a determinare le caratteristiche del tubetto, non il flacone:
| Tipo di distributore | Comportamento del tubo | Come viene gestita la lunghezza |
|---|---|---|
| Nebulizzatore a nebulizzazione fine | Tubo sottile e flessibile | Curvato contro la parete della bottiglia, in modo da risultare leggermente più lungo dell’altezza interna della bottiglia |
| Spruzzatore a grilletto | Tubo più rigido, confezioni per uso domestico | Dimensioni adattate alla bottiglia; i tubi in commercio misurano solitamente circa 6¾–9½ pollici. |
| Erogatore per lozione | Tubo spesso e rigido | Sta dritto con un piccolo spazio sopra la parte inferiore |
| Pompa di trattamento | Tubo corto e rigido per bottiglie piccole | Tipicamente su bottiglie premium da 30–60 ml; tubetti per la vendita al dettaglio da circa 2¾ pollici. |
| Pompa per schiuma | Tubo rigido, meccanismo a pompa per lozione | La stessa regola del "piccolo spazio" applicata alle pompe per lozioni |
| Flacone airless | Di solito non c'è proprio nessun tubo di immersione | Un pistone situato alla base si solleva e spinge il prodotto verso l'alto — maggiori dettagli nella sezione dedicata alle decisioni qui sotto |
Due categorie comuni non prevedono affatto l’uso di tubi: i flaconi con dosatore e i diffusori a bastoncini (non è presente alcun sistema di pompaggio). Se il vostro imballaggio rientra in queste categorie, le istruzioni di misurazione riportate di seguito non sono applicabili.
Regola pratica: i tubi sottili dello spruzzatore si piegano contro la parete; i tubi spessi della pompa rimangono dritti, lasciando uno spazio.
Come misurare la lunghezza del tubo di immersione, passo dopo passo
Questo è il flusso di lavoro utilizzato in tutto il settore dell'imballaggio. Richiede circa cinque minuti e lo scopo è quello di effettuare le valutazioni una sola volta, su un unico campione, invece di andare alla cieca con un lotto di produzione.
Fase 1: Inizia dalla guarnizione, non dal tappo
Tutte le guide concordano su un punto fondamentale: il guarnizione, la piccola guarnizione di gomma nascosta sotto la pompa o la testina dello spruzzatore, visibile quando si capovolge il dispenser. Misurate dalla sua superficie di appoggio (la superficie piana che tocca il bordo del flacone) fino all’estremità del tubo. L’intera lunghezza misurata corrisponde alla lunghezza del tubo di immersione. Non misurare solo il tubo visibile sotto la corona del tappo, né misurare fino al bordo del flacone. In entrambi i casi si ottiene una misura inferiore all’altezza del tappo, ed è proprio questo errore che fa sì che il tubo rimanga sospeso sopra il prodotto.
Fase 2: Misurare l'altezza interna della bottiglia
Ora misura il contenitore su cui verrà appoggiato l'erogatore. Inserisci un righello verticalmente fino alla base interna e leggi l'altezza sul bordo superiore. Se il righello non entra (colli stretti, spalle alte), inserisci un bastoncino sottile o una cannuccia, segna il punto in cui arriva al bordo e poi misura il bastoncino. Due note sulla precisione:
- Interno, non esterno. Lo spessore della parete e una base incassata possono aggiungere, ciascuno, diversi millimetri di errore.
- Fai attenzione alla forma del fondo. Le basi coniche o bombate verso l'interno (comuni nei contenitori in vetro) comportano che la profondità utile del liquido sia inferiore all'altezza esterna della bottiglia. Misurate lo spazio effettivamente occupato dal liquido.
Le schede dei prodotti riportano talvolta l'altezza “dalla spalla alla base” anziché la profondità interna totale. SKS Bottle & Packaging, ad esempio, abbina bottiglie e tubetti proprio in base a questo criterio. La misura “dalla spalla alla base” va bene quando si acquistano sia la bottiglia che la pompa dallo stesso catalogo. Se si ricorre a fornitori diversi, è necessario misurare personalmente la profondità interna.
Step 3: Work Out the Target Tube Length
Here is where the guides stop agreeing, so here is the resolution. Take the bottle’s interior height and subtract a clearance that keeps the tube’s inlet off the base. How much?
3/32 in. ≈ 2.4 mm
The assembly clearance used by O.Berk when calculating dip tube length: measure from the bottle’s sealing surface (land) to the base, subtract 3/32 in. to compensate for the pump’s push-up, and the remainder is your target tube length.
The 3/32 in. (2.4 mm) figure is the only published numeric answer to “how much gap should I leave?” It is the number that turns dip tube fitting from a feel into a specification. Most consumer guides say “leave a small gap” or “don’t cut it flush.” 3/32 in. is simply that advice with a number attached.
Thin sprayer tubes bend instead of hanging straight, so The Cary Company recommends starting about 1 in. longer than the bottle and letting the bend take up the slack. The tube rides the wall while its inlet still reaches the base corner, where thin liquids pool last.
Formula to carry into the next step: target length ≈ bottle interior height − 3/32 in. (straight rigid tubes), or ≈ bottle height + about 1 in. (thin tubes that bend).
Step 4: Measure the Existing Tube and Trim
Lay the dispenser flat and measure the tube you actually have, from the gasket seating face to the end, using the same reference as Step 1. (Most pumps ship with one standard long tube, designed to be trimmed.) Subtract your target from this as-produced length. The difference is how much to remove.
Cut with a sharp blade or tube cutter; scissors crush soft polypropylene. Industry practice favors an angled cut (about 45°): a beveled inlet cannot seal itself against the base the way a flat cut can, and it stays clear if the tube settles deeper over time. Some pump makers offer a V-cut instead. Ask your supplier which cuts their pumps accept before standardizing. After trimming, check the cut edge for burrs and knock off any shavings that could clog the inlet.
Step 5: Test One Before You Commit
Assemble the trimmed tube into the bottle, prime the pump, and verify three things: it draws from the bottom (test with the bottle nearly empty), it does not suck air or “spit” after the first strokes, and nothing leaks when the bottle is inverted. Then use that sample as your template. Production tubes get compared against it rather than re-measured.
Measure twice, cut once — a tube cut too short cannot be uncut. When in doubt, trim less than your calculation says, test, and take a second tiny cut. A too-long tube is fixed in thirty seconds; a too-short one means a replacement part and a new wait.
How Long Should the Dip Tube Be? Matching Tube Length to Your Bottle and Product
If the last section answered the arithmetic, this one answers the decision behind it: which dispensing route your product should take in the first place. Read across your scenario in the matrix. It is the standard industry pattern for matching viscosity and value to a dispensing system.
The Decision Matrix: Match the Dispensing Route to Your Product
| Scenario di prodotto | Typical route | Dip tube handling | When this route breaks down |
|---|---|---|---|
| Low-viscosity mist (fragrance, body spray, toner) in a slim glass bottle | Nebulizzatore a nebulizzazione fine | Thin tube bent to the wall; target ≈ bottle height + bend allowance | Thick or sedimented formulas clog fine-mist actuators |
| Medium-viscosity lotion or serum in a pump bottle | Lotion or treatment pump | Rigid tube standing straight; target ≈ interior height − 3/32 in. | A bottoming tube snaps in transit or kinks in the bottle |
| Thick cream or balm | Thick-tube pump, or skip pumps for jars | Same small-gap rule; some formulas need a wider tube bore | High-viscosity products will not climb a thin sprayer tube |
| Household cleaners, automotive, garden (large volume) | Spruzzatore a grilletto | Longer tube sized to the bottle; check the cap’s venting too | A curled or mis-sized tube is the classic “sprayer stopped working” failure |
| Premium skincare where leftover product causes complaints | Airless pump bottle | No dip tube to measure — see below | Higher unit cost and a different filling method |
| Samples, travel sizes, 30–60 ml | Pompa di trattamento | Short rigid tube | Not offered on every neck finish |
When You Can Skip Dip Tube Length Altogether
If your product is expensive per milliliter and customers will notice a leftover inch, remove the tube question entirely. Airless pump bottles have no conventional dip tube. Instead, a piston at the base rises as product is dispensed and pushes the contents toward the valve. That is why airless is the standard for formulas that must be fully evacuated and kept air-free. (The “empty space” at the bottom of a partly used airless bottle is the piston, not lost product.) The tradeoff is structural: higher unit cost and a different filling method (bottom-fill or special valve, not a standard top-fill line). Confirm your contract filler can handle it before switching.
The rule of thumb is cost-honest: choose airless when the leftover complaint or the oxidation risk justifies the higher unit price. Premium serums and actives, yes. Mass-market body lotion, usually not. And if you are evaluating glass airless or pump bottles, remember that the dispenser and the glass body often come from different specialists.
When bottle and pump arrive from different hands, the fit is on nobody.
Whoever assembles the pair is the supplier worth holding to that fit.
How to Specify Dip Tube Length When You Order from a Supplier
If you are ordering bottles and pumps in production quantities, you should not be cutting tubes by hand at all. You should be specifying them. Most pump manufacturers produce one standard long tube per pump and trim to order; distributors and suppliers offer pre-cut options as well. The failure mode is not the cutting; it is the spec. Make these four points explicit on your purchase order or quotation request:
The four-point spec
Reference point — state “gasket seating face to tube end,” or give the bottle’s interior height and the clearance you want and let the supplier calculate.
Unit system — say inches or millimeters out loud; US catalogs quote inches, Asian and European suppliers usually work in millimeters, and nobody converts for you.
Cut style — confirm the pump accepts an angled cut (or V-cut) before ordering; not all do.
Compatibilità — include the neck finish (e.g., 24/410) and, if replacing a tube, the pump stem’s inner diameter, not just the length.
Two supplier realities are worth knowing before you negotiate. First, testing is routinely pushed back onto the buyer. SKS Bottle & Packaging states plainly that it helps match components but does not perform product testing. So put “sample assembled and draw-tested” on your own incoming-inspection checklist. Second, pre-cut tubes are a real but commercial service. Neve di vetro sells pre-cut dispensers to growing businesses that prefer not to trim in-house. Neither is a flaw; they are terms of trade. The trap is split sourcing: bottle from one supplier, pump from another, tube mismatch with no owner, and the rejection lands on your desk. That is how dip tube length becomes a purchasing problem instead of a five-minute measurement.
Why Getting the Dip Tube Right Pays Off
Run the failure chain backward and the economics become clear. A tube that is too short strands product in the bottle. Consumers notice, complain, and review (“I still have an inch of lotion left that I have to beat against my palm”). A tube that is too long kinks, snaps in transit, or blocks its own inlet, and the pump fails out of the box. Either way the complaint lands on the brand and travels back to whoever assembled the bottle-and-pump pair. With split sourcing, that chain dead-ends at your desk.
The fix is almost free: one ten-minute draw test on a sample (fill, pump dry, invert, check) before committing to a production quantity. Against the cost of returns and a launch with a pump that visibly “doesn’t work,” it is the cheapest insurance in packaging. And when you source glass and dispenser together, the question to ask a supplier is not “what pumps do you sell” but “will you own the fit”: will they match the tube to the bottle and verify it before samples ship?
At Daxin Glass Bottles, owning the fit is how we work with pump-bottle launches. We manufacture the glass body and source and assemble the pump head through our lid and pump supply chain, so tube matching happens against our own bottles. Tell us the bottle you have chosen from our glass pump bottles range and the viscosity of your formula, and we handle the matching before your sample ships. That is part of the standard development flow, not an extra: our design team returns first drafts within three working days, and a concept reaches a physical sample in roughly 15–20 days, with the assembled draw test done before anything leaves the factory. It is the same reason we keep 5,000+ existing molds and a stock program with a 1,000-piece entry point: the fit question never has to wait for a custom mold.
If you are planning a pump-bottle launch and want the dip tube question settled before samples ship, talk to Daxin Glass Bottles. Our team responds within 24 hours and stands behind every order.
Get the dip tube length settled in your sample round
Send us your bottle drawing or stock choice and we’ll reply with the pump match, tube length, MOQ, and a sample schedule that includes the fitted draw test.
Inviaci le specifiche della tua bottigliaRiferimenti
- O.Berk. “Quick Question Monday: How Do You Measure Dip Tube Lengths?” 2015. https://www.oberk.com/packaging-crash-course/quick-question-how-do-you-measure-dip-tube-lengths
- The Cary Company. “How to Measure Dip Tube Length.” https://www.thecarycompany.com/insights/articles/how-to-measure-dip-tube-length
- SKS Bottle & Packaging. “How to Measure Dip Tubes.” https://www.sks-bottle.com/info/HowToMeasureDipTubes.html
- Glassnow. “How to Measure and Trim Your Dip Tube for Optimal Performance.” 2025. https://www.glassnow.com/blog/how-to-measure-and-trim-your-dip-tube-for-optimal-performance/
- Daxin Glass Bottles. “Lotion & Serum Bottles.” https://www.daxinglassbottles.com/lotion-serum-bottle/
- Daxin Glass Bottles. “Custom Lid & Pump.” https://www.daxinglassbottles.com/custom-lid-pump/
- Bottiglie di vetro Daxin. Homepage. https://www.daxinglassbottles.com/


 English
  Spanish
  French
  German
  Arabic
  Italian
  Dutch
Dutch  Portuguese
  Russian
  Korean
  Japanese