
DIYキャンドルジャーの基礎
DIYキャンドルジャーは、インテリアに温かみを加えたい人々の間で、今やトレンドの選択肢となっています。こうした手作りクラフトは、創造性を存分に発揮できるだけでなく、生活空間を自分らしく演出することも可能にします。キャンドルジャーを手作りすれば、自分の好みに合わせてデザインを工夫したり、香りを選んだり、インテリアのスタイルや好みに合わせて色を塗ったりすることができます。さらに、DIYキャンドルジャーは、作るのも贈るのも楽しい、手頃な価格の心温まるプレゼントにもなります。このクラフトには、見た目の美しさから得られる満足感に加え、自分で作り上げたという達成感も味わえます。それでは、この楽しいプロジェクトをどのように始めればよいか、必要な材料は何か、そして手作りのキャンドルジャーを作るための大まかな手順について詳しく見ていきましょう。このガイドでは、見事なキャンドルであなたの家と心を輝かせるために必要なすべてをお伝えします。.
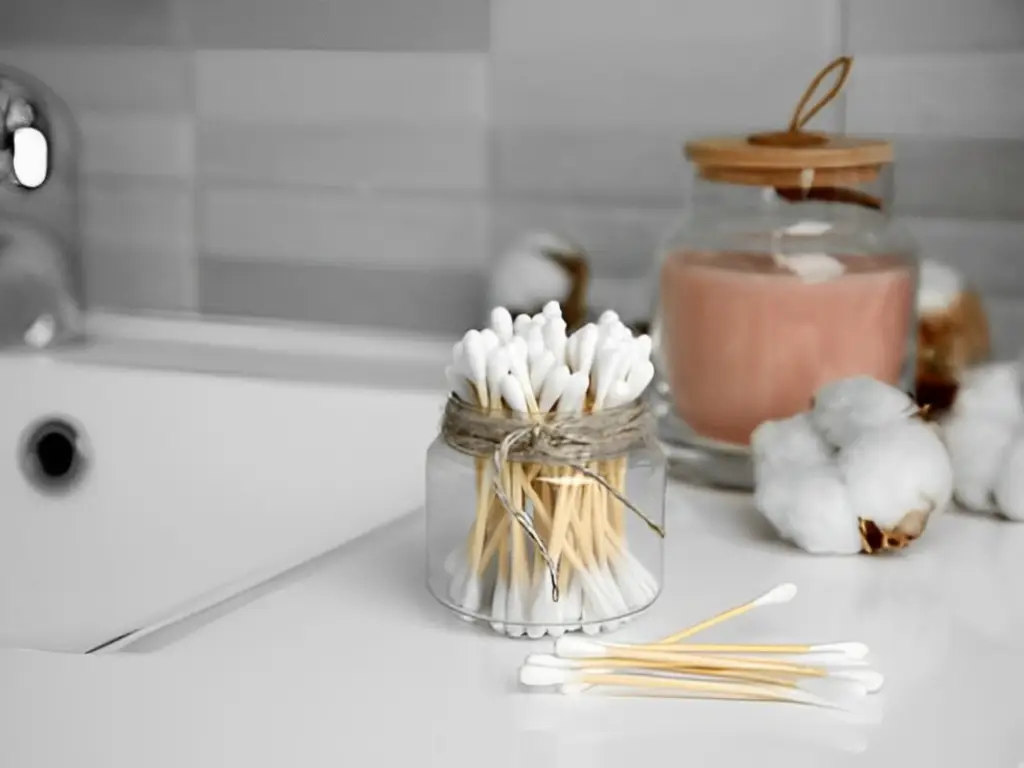
DIYキャンドルジャーに必要な材料
このDIYキャンドルジャー作りを始めるにあたり、必要な基本的な材料の一覧を以下にご紹介しますので、ご参照ください:
- キャンドルジャー: メイソンジャーや古いキャンドル容器、その他透明なガラス容器など、お好みのガラス容器を選んでください。.
- キャンドルのワックス: 一般的に選ばれるのは、燃焼時間の希望や環境への配慮に応じて、大豆ワックス、パラフィンワックス、または蜜蝋です。.
- ウィックス: 瓶の大きさや使用するワックスの種類によって、綿の芯か木製の芯のどちらかになります。.
- 湯煎: ワックスを安全に溶かすために。.
- 温度計: 溶けたワックスの温度を確認し、熱すぎず、冷たすぎないことを確かめる。.
- フレグランスオイル: キャンドルの香りを楽しむために。.
- 染料: キャンドルに色を加えたい場合は。.
- ホットグルーガン: 芯を容器の底に固定するため。.
- かき混ぜ用器具: ワックスをかき混ぜたり、香料や染料を加えたりするための木製の棒/ステンレス製のスプーン。.
- はさみ: 芯を適切な長さに切り揃えるためです。.
- 装飾品: ステッカー、リボン、ラメ、絵の具などは、キャンドルジャーのオリジナルアレンジに活用できます。.
これらの材料があれば、キャンドル作りの旅を順調にスタートさせることができます。ご自宅用や贈り物として、ユニークで美しいキャンドルを作ることができるでしょう。.
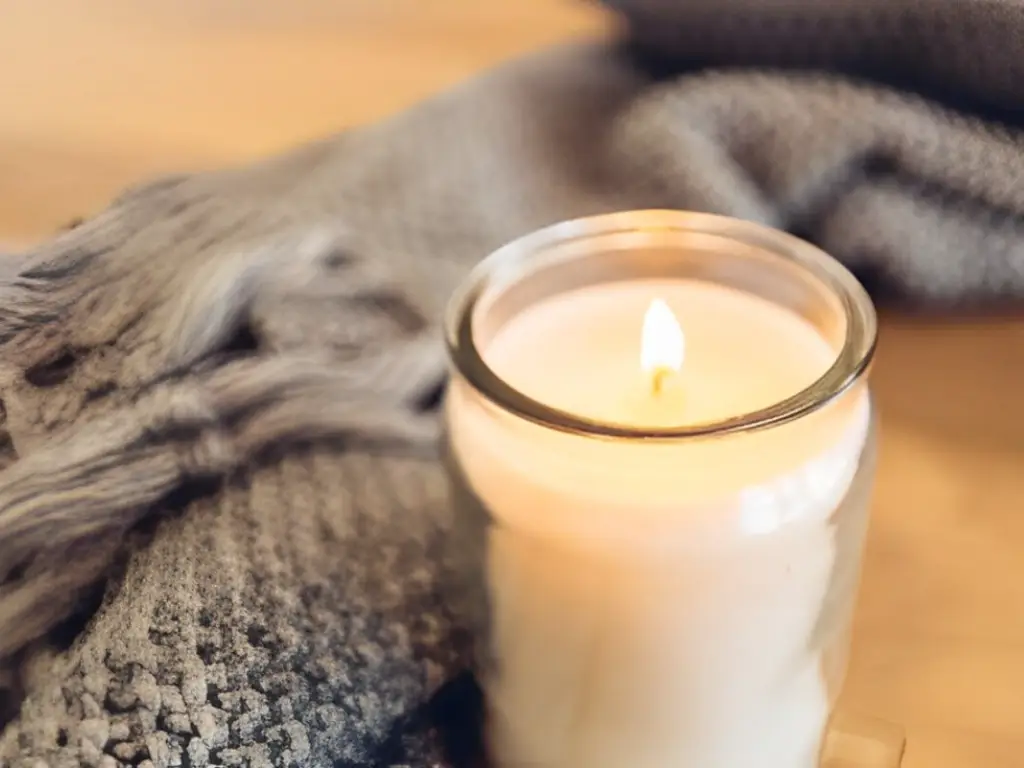
適切なキャンドル容器の選び方
DIYのキャンドルジャー作りに取り掛かる際、キャンドルの容器選びは、見た目の美しさだけでなく、機能性の面でも極めて重要です。以下に、キャンドルジャーを選ぶ際に考慮すべき点をいくつか挙げます:
材料: ガラスは耐熱性があり、見た目も美しく、キャンドルの姿がはっきりと見えるため、キャンドルジャーとして最も広く使用されている素材です。一方、セラミックや金属も利用可能な素材の一部です。セラミック製のジャーは素朴で自然な風合いがあり、その多くが保温性に優れているため、香りをより安定して楽しむことができます。アウトドア用キャンドルで人気のある金属製のジャーは、耐久性がありモダンな外観を備えていますが、熱を伝導しやすいため、使用する際には注意が必要です。.
容量: 選ぶジャーのサイズは、用途に合わせて選ぶ必要があります。DIYキャンドル用ジャーで最も人気のあるサイズは、サンプル用やギフト用キャンドルに最適な小さな4オンス(約118ml)のジャーから、長期間使用するためのキャンドル向けの大きな16オンス(約473ml)のジャーまでさまざまです。サイズの選択は、燃焼時間や香りの広がりを左右するため、非常に重要です。.
形状と種類: 瓶の形は、キャンドルの燃焼や光の広がり方に影響を与える要因の一つとなります。伝統的な円筒形のメイソンジャーから、よりユニークな三角形や四角形の瓶まで、さまざまな選択肢があります。例えば、メイソンジャーやクリームの瓶、ユニークな形の食品用瓶など、古い瓶を再利用することで、個性的な雰囲気を演出できるだけでなく、リサイクルにもつながります。.
DAXINのガラス製キャンドルジャーは、DIY愛好家の間で広く愛用されています。キャンドル作りに最適な最高品質のガラスジャーをお探しの方にとって、DAXINのガラス製キャンドルジャーは絶好の選択肢です。高い耐熱性で知られており、安全で長期間使用することができます。この製品を際立たせている2つの特徴は、その高い透明度と硬度です。これらは見た目を美しくするだけでなく、長持ちさせることにもつながります。さらに、DAXINではカスタマイズオプションも提供しており、お客様のオリジナルデザインにぴったり合うジャーをお選びいただけます。.
素材、容量、形状や種類といった点を考慮することで、DIYキャンドル作りに最適な瓶を選ぶことができます。耐久性に優れたDAXINのガラス瓶でも、リサイクルされたアンティークの容器でも、あるいは自分のスタイルに合うその他の素材を選んでも、ぴったりの容器は手作りのキャンドルの美しさと実用性をさらに引き立ててくれるでしょう。.
キャンドルジャーにぴったりのワックスと芯の選び方
DIYキャンドルジャーの効率と安全性を確保するには、使用するワックスや芯の種類が非常に重要です。ワックスの種類ごとに異なる仕上がりが得られ、さまざまな美的・機能的な目的に適しています。.
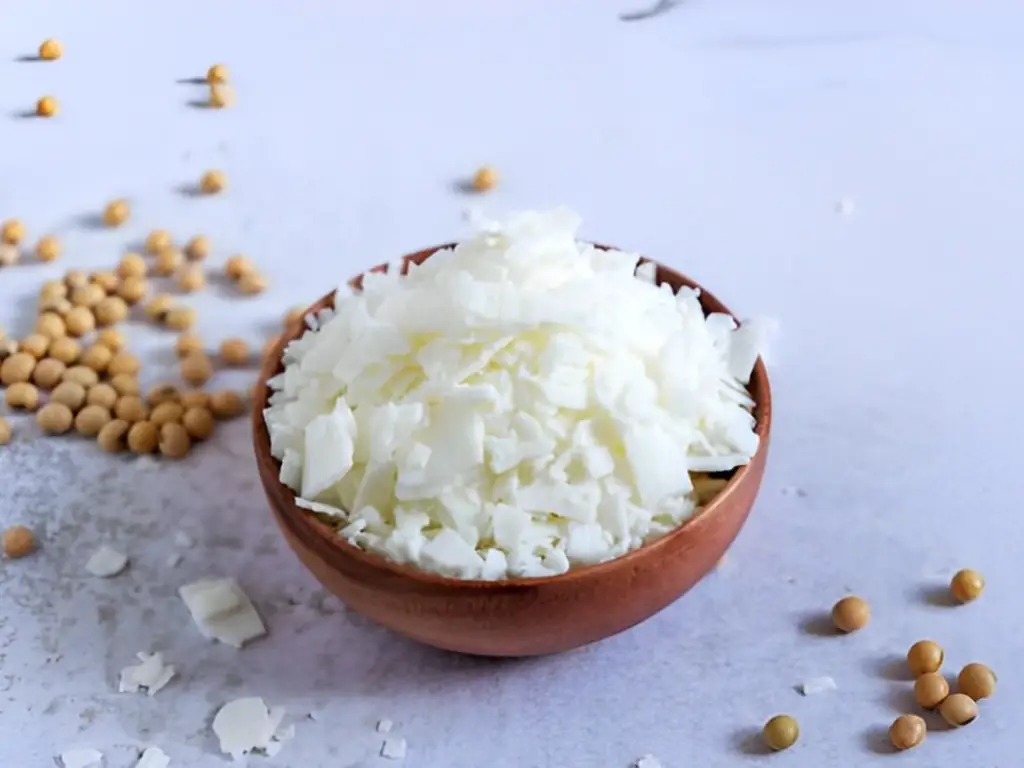
大豆ワックス: 環境に優しい資源として広く知られている大豆ワックスは、汚染物質を一切排出しないクリーンな燃焼を実現します。融点が低いためキャンドルの燃焼時間を延ばすことができ、エッセンシャルオイルと相性が良く、香り豊かなキャンドルを作るのに最適です。.
パラフィンワックス: パラフィンは、その素晴らしい香りの広がりと、美しく長持ちする表面を作り出す能力から、最も人気のあるキャンドルワックスの一つです。とはいえ、パラフィンは石油から抽出されるものであり、燃焼時に煤が発生する可能性があります。そのため、煙が室内に充満するのを防ぐために、換気が必要です。.
蜜蝋: 心地よくほのかな、天然のハチミツのような香りで高く評価されている蜜蝋は、他の多くの種類のワックスに比べて、溶け方がゆっくりで、燃焼もきれいです。さらに、マイナスイオンを放出することで、汚染物質やアレルゲンなどの有害な微粒子を空気中から除去します。.
芯に関しては、きれいに均一に燃えるためには、適切な種類を選ぶことが極めて重要です:芯に関しては、きれいに均一に燃えるためには、適切な種類を選ぶことが極めて重要です:
綿芯: これらは、大豆ワックスや蜜蝋など、ほとんどの種類の天然ワックスに適しています。問題なく燃焼し、キャンドルにトンネル現象が生じたり、過剰な煤が発生したりしないよう、適切な厚さである必要があります。.
木製芯: これらの芯は、暖炉のような穏やかでパチパチという音を立て、居心地の良い雰囲気を演出するのに最適です。木製の芯は、適切に燃焼させるためには、適切なサイズの容器に合ったワックスと組み合わせる必要があります。.
Braided Wicks: Normally, paraffin wax is the material used for these wicks that are curled slightly when burning to help maintain a steady flame and reduce soot emissions.
Selecting a proper wax type and wick is crucial to make your DIY candle jars operate optimally and safely. There are three types of waxes: soy, paraffin, and beeswax, each of them provides unique benefits including greenness, great scent throw, and air purification. Similarly to that, the wick type—whether cotton, wooden or braided—should be chosen according to the type of wax and the size of a jar in order to achieve the best burning. This is done by taking the time to examine these elements and you will be able to make candles that are not only beautiful and fragrant but also burn cleanly and safely.
Preparing Your Workspace for Candle Making
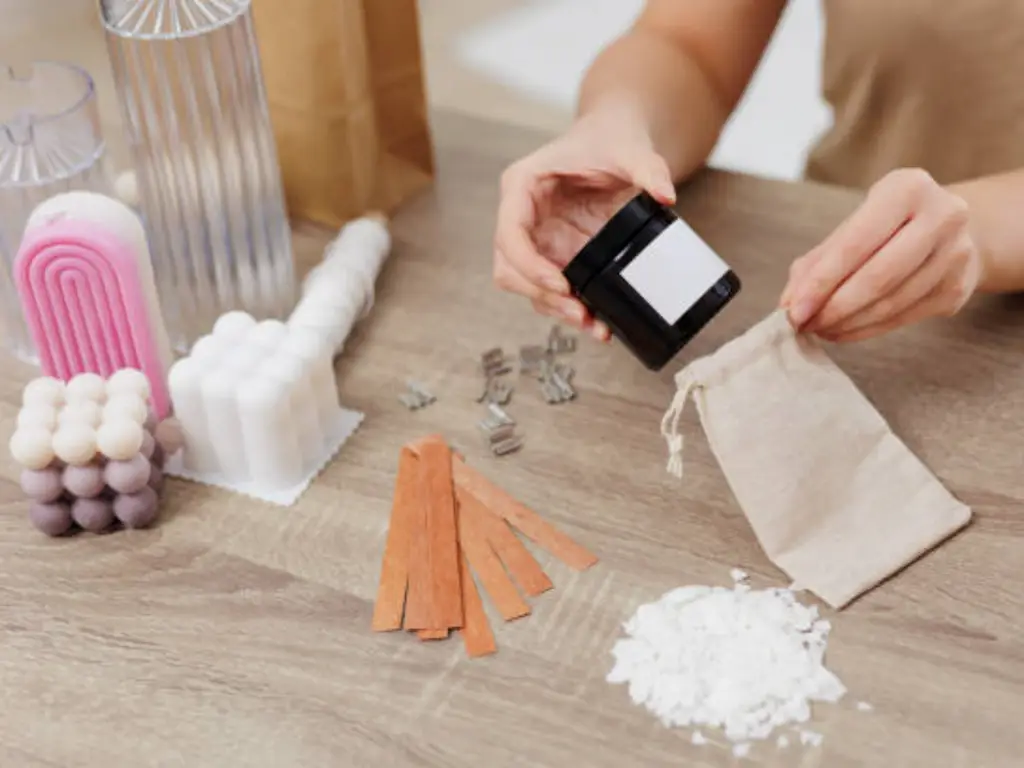
First and foremost, before you begin melting wax, you have to prepare your work area. A clear, organized surface is key to safety and efficiency. Put a newspaper or disposable cloth under your work to catch the spills of melted wax. To ensure safe handling of high heat, your work area should have heat resistant mats or trivets to place hot equipment such as saucepans and double boilers.
Besides that, proper ventilation is also one of the salient feature of the candle making space. Liquid wax and fragrance oils can produce fumes, especially when they are heated. So, it is good to work in a ventilated room or use a fan so that you can create a safe environment. The convenience of having all your materials and tools close by—like wax, wicks, fragrance oil, and dye—allows you to devote your attention to the craft without distractions.
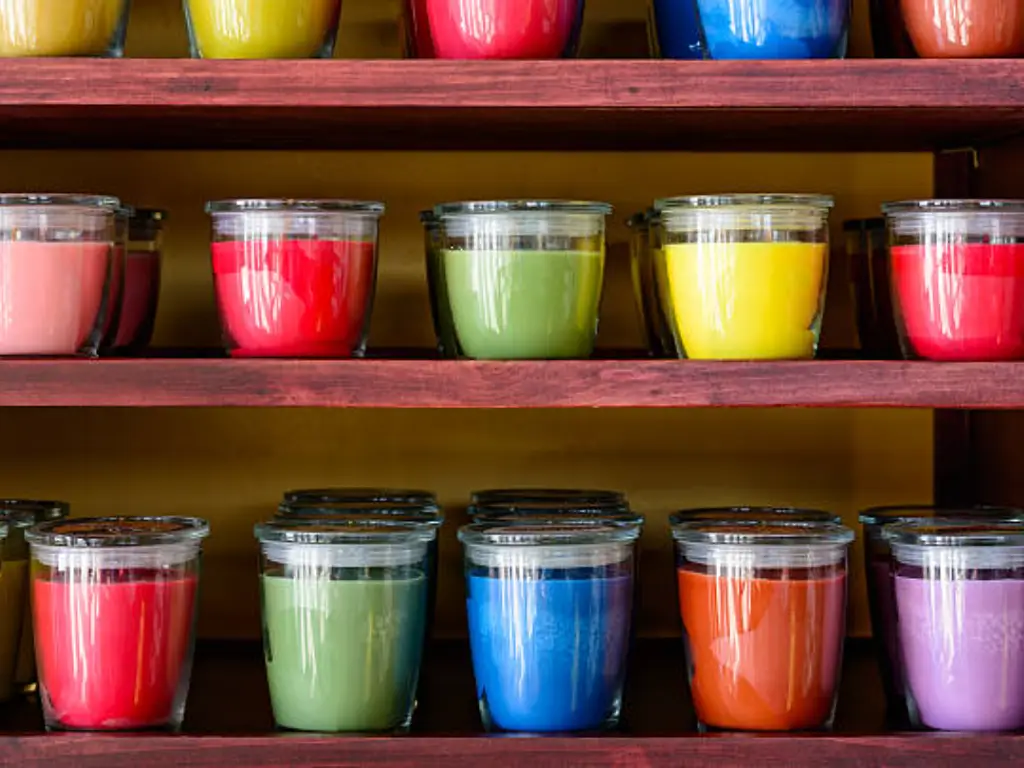
Step-by-Step Process to Make Your First Candle Jar
Making your own DIY candle jars is a great DIY project to do on your own. Below is the precise, step-by-step tutorial that you can use to make your first candle.
- Prepare the jar: First, make sure that your candle jar is clean and dry. Any residue or moisture that remains in the glass can affect how the candle burns or sticks to the glass.
- Attach the wick: Put the wick in the middle of the jar. You can attach the base of the wick to the bottom of the jar with a wick sticker or a small drop of hot glue. To keep the wick in the center and straight when you pour the wax, you can wrap the end of the wick around a pencil or stick and place it on top of the jar.
- Melt the wax: Use a double boiler to melt the selected wax. In case you don’t have a double boiler, you can use a smaller pot or heat-safe bowl over a larger pot of boiling water. Gradually heat the wax to its recommended melting temperature, stirring every so often to make sure it melts evenly.
- Add fragrance and color: After the wax has been melted, take it off the heat. Now is the time to add dye or fragrance oil if you are. Stir slowly but really well so as to mix the color and smell evenly all over the wax.
- Pour the wax: Gradually pour the melted wax into the jar, without disturbing the wick. Fill the jar up to the desired level. However, leave some space at the top so that the candle doesn’t spill out when lit.
- Secure the wick: As the wax gets to cool and solidify, make sure the wick is still in the center. If it has been moved, carefully reposition it while the wax is still soft.
- Allow the candle to set: Let the candle cool off undisturbed for several hours until it is fully solidified. Do not move the candle during this period because vibrations can contribute to air bubbles or cracks in the wax.
- Trim the wick: Once the wax has solidified, trim the wick to about 1/4 inch above the candle’s surface. This feature provides a clean and even burning.
Follow the above steps, you can make a both beautiful and functional candle jar. Every step is important for the quality and safety of your home-made candle. Therefore, you will get a lovely addition to your home or a nice handmade present.
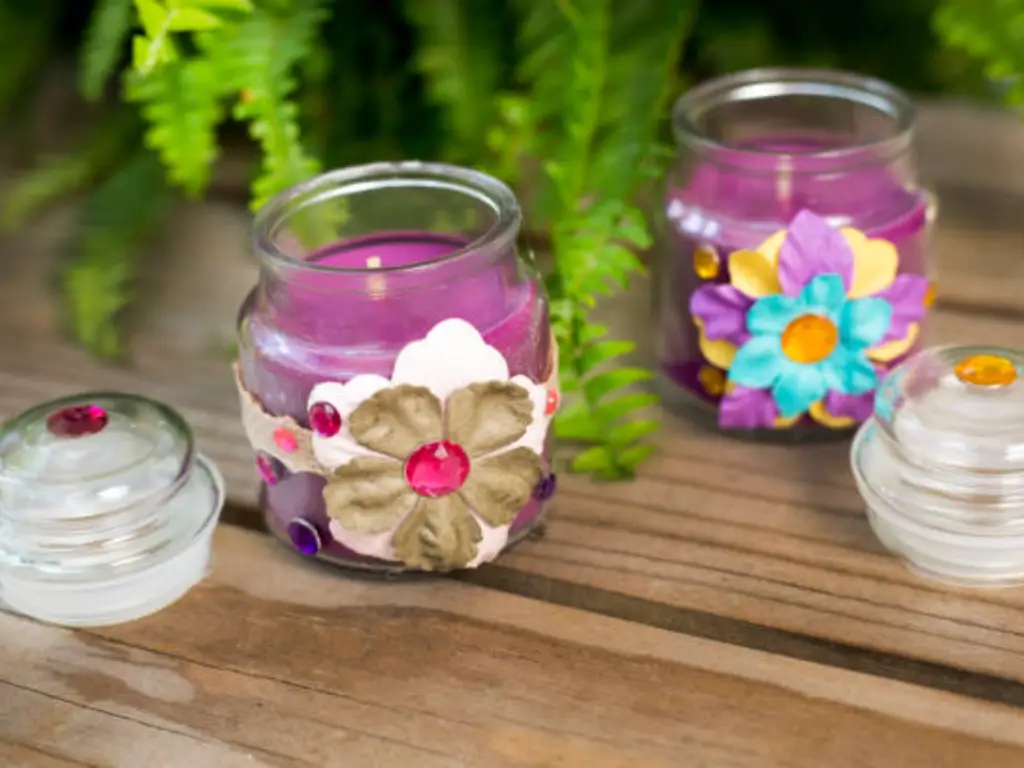
Creative Ideas for Decorating Your Candle Jars
Having learned the fundamentals of melting wax and setting up the wick, now it is time to add a little bit of pizzazz. DIY candle jar decoration can be as easy or complicated as you want. Apply stickers, paint or etch the outside of the glass jars to make your design stand out. Consider using decoration materials such as burlap, twine, or ribbons to give your jars a rustic touch, or glitter or metallic paint to give them a more glamorous look.
For the themed type, determine the purpose for which the candle will be lit. A Christmas candle may be decorated with red and green candies, while a romantic, candlelit dinner may require more delicate, romantic embellishments. The application of various colors of wax can be used to create such interesting visual effects too. Don’t forget the decorations should be not only beautiful but also safe and functional, that means they should not interfere with the process of the candle’s burning.
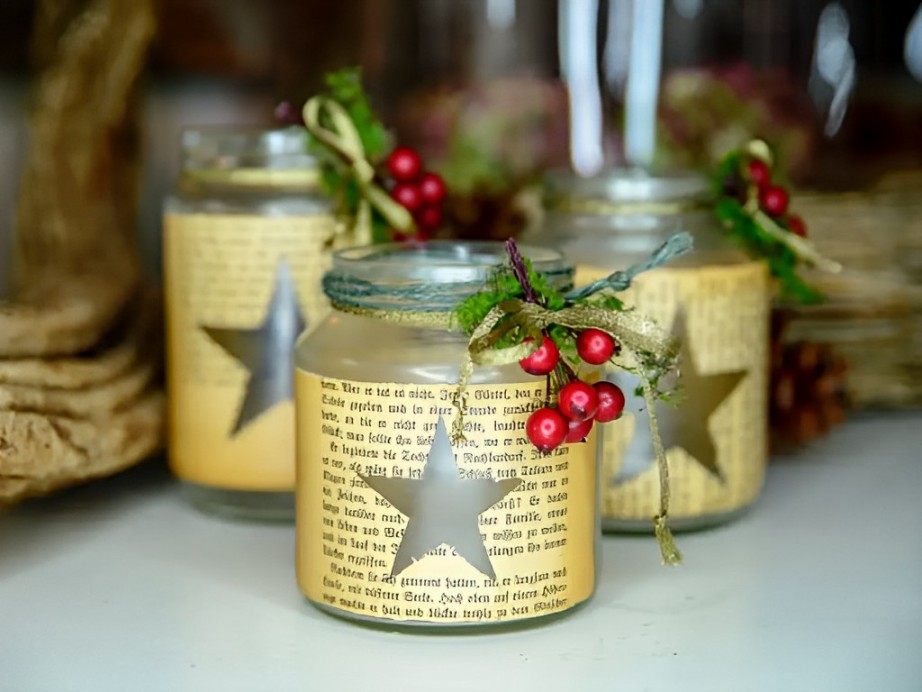
Tips for Perfecting Your Candle Making Technique
The core of candle making is solving everyday problems and improving your procedure. Here is how to make your DIY candle jars better:
Uneven Burning: It is a common problem that arises when the wick is not centered or when the wick size is not suitable for the jar and the type of wax. Make sure the wick is centered while you are pouring the wax and you can also use a wick that matches the diameter of your jar. If the wicks are too small, the candle may burn too fast, or if the wicks are too big, the candle may tunnel.
Wax Discoloration: Direct sunlight and fluorescent lighting may cause color change or fading of colored wax. Prevent this by storing your candles in a cool and dark place. Besides, dye with high quality and the correct mixing technique can also decrease the possibility of discoloration.
Improving Scent Throw: To make a candle with a stronger fragrance, check if you have added the right amount of fragrance oil (usually 6% to 10% of the wax weight) and pour the wax at the appropriate temperature. If it is too hot, the fragrance may evaporate, or if it is too cool, it might not stick well with the wax.
Through dealing with these common problems and perfecting your skills with each project, you will be able to create better candles and have better results with every project.
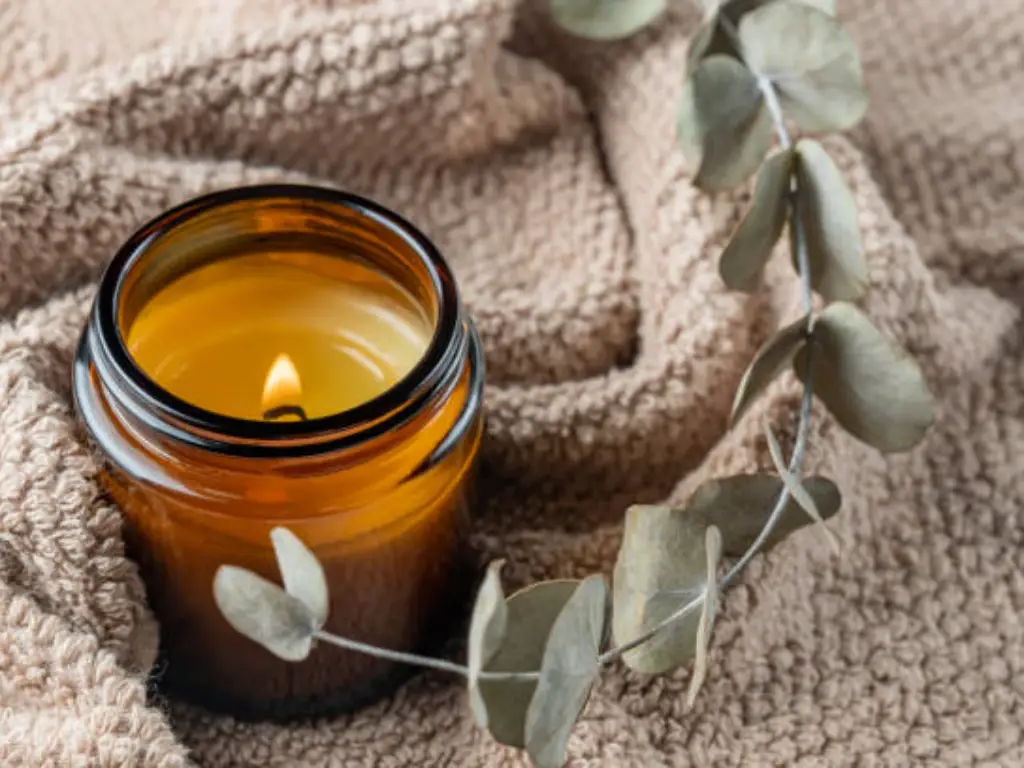
How to Care for and Display Your DIY Candle Jars
Considering the proper care and thoughtful display is the most important part of enjoying your DIY candle jars. Here are some tips to keep your candles looking great and burning efficiently:
Maintaining Your Candles: To keep a clean and uniform burn, it is important to trim the wick to about 1/4 inch before every use. This does not allow too much sooting and hence your candle will last longer. Besides, make sure you don’t burn your candle for more than four hours at a time to prevent the glass from overheating.
Storing Candles: Place your candles in a cool and dry area away from direct sunlight to avoid the wax from melting or discoloring. In case you use scented candles, place them in a tight container so that the fragrance does not evaporate.
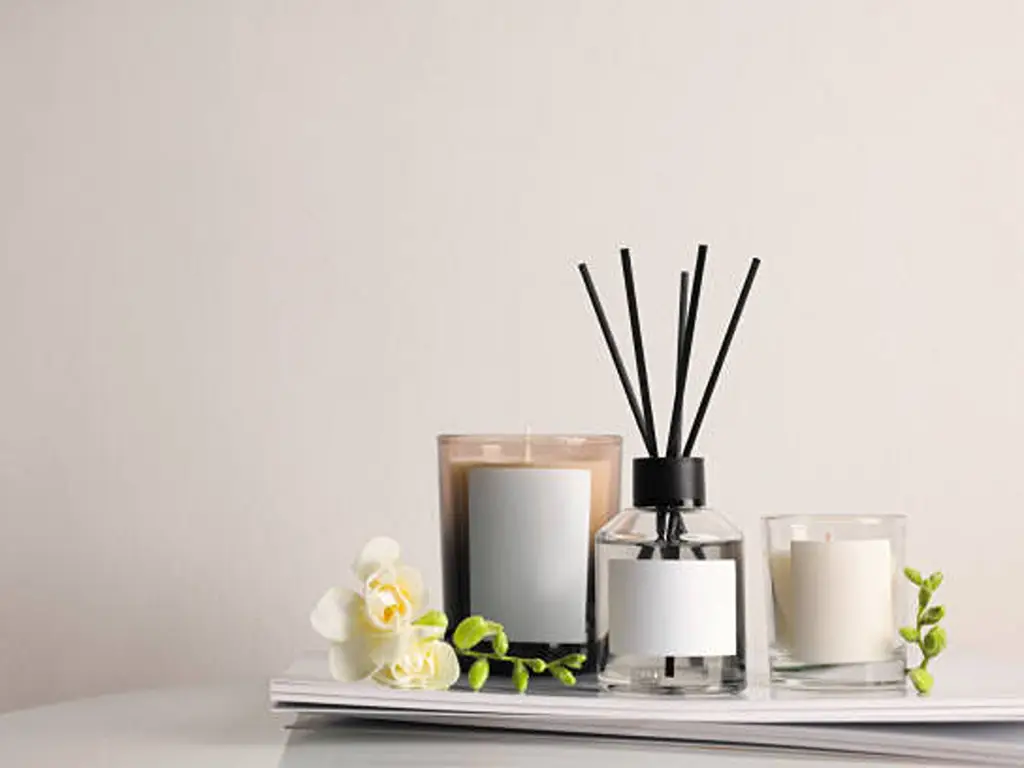
Decorative Displays: Candles have the power to bring life to any setting. Grouping several candles on a mirrored tray or putting them in lanterns for outdoor decor are two examples of elegant coffee table arrangements. Remember that the candle jars’ style and color is important while including them in your decor; matching the candles to room themes or seasonal decorations can add a unifying and stylish touch.
By doing the maintenance and display according to these guidelines, your DIY candle jars will not only last longer but also be an attractive part of your home decor.

 English
  Spanish
  French
  German
  Arabic
  Italian
  Dutch
Dutch  Portuguese
  Russian
  Korean
  Japanese