Introduction to DIY Candle Jars
DIY candle jars have become a trendy option for people who want to add a homely touch to their interior design. These crafts enable people to unleash their creativity and at the same time, personalizes their living spaces. When you make your own candle jars, you can personalize your designs, choose fragrance, and color them as per your decoration style or personal preference. Lastly, DIY candle jars can be an inexpensive, thoughtful gift that is pleasurable to make and to give. In addition to the aesthetic gratification of this craft, you also reap the rewards of a feeling of personal accomplishment. Let’s have a closer look at how you can begin this fun project, discover the materials you’ll need and understand the general steps involved in making your own homemade candle jar. This guide aims to give you everything you need to make your home and heart shine with stunning candles.
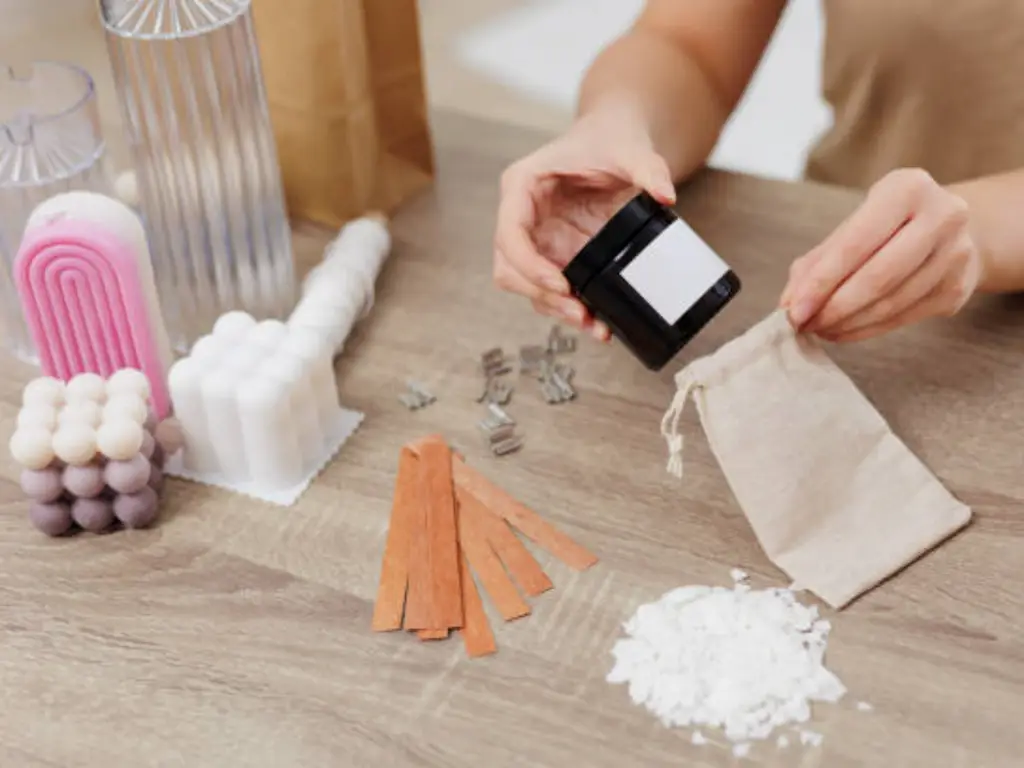
Materials Needed for DIY Candle Jars
To get started with this DIY candle jars project, kindly find below the list of the basic materials you will be needing:
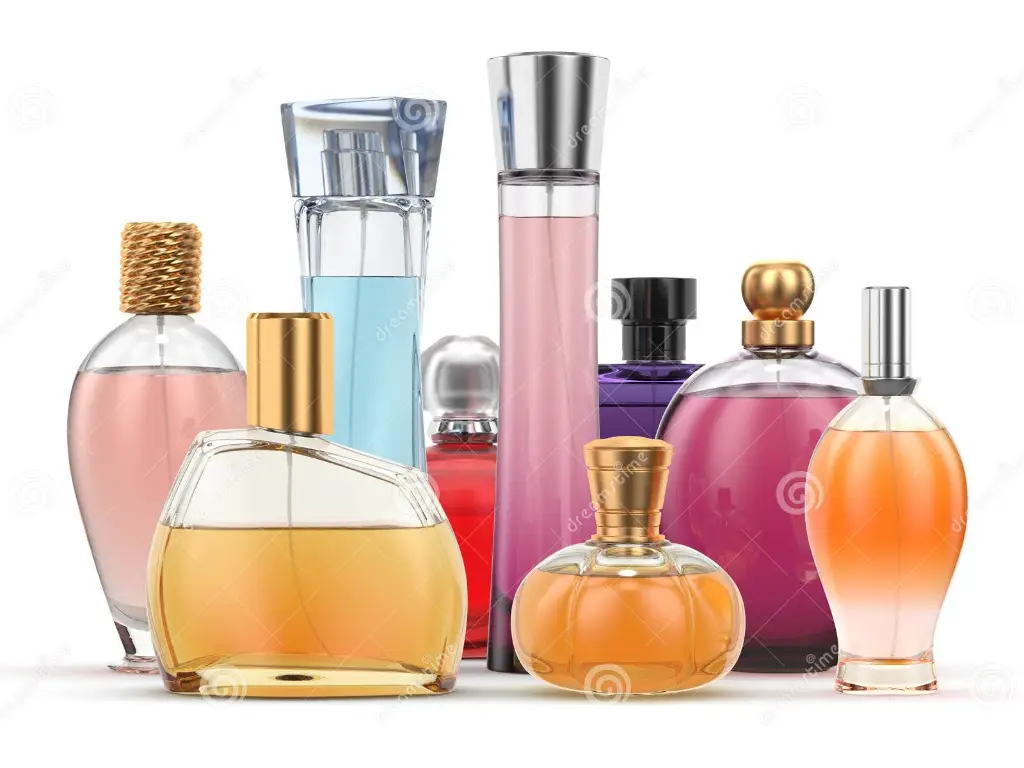
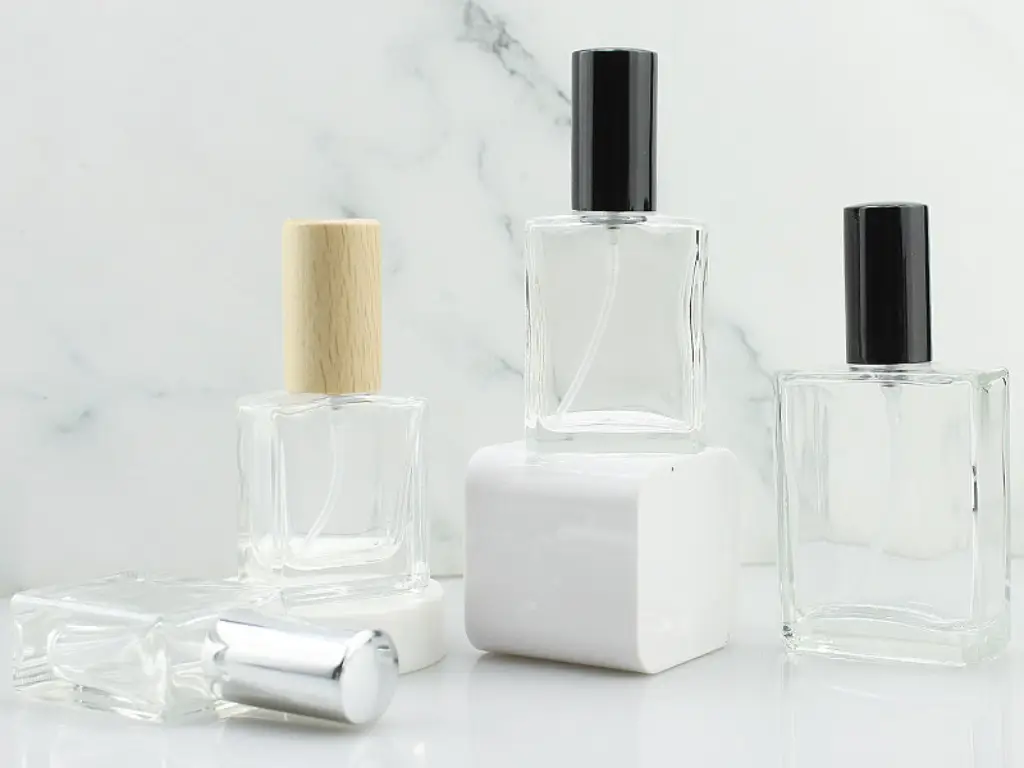
- Candle jars: Select glass jars, such as mason jars, old candle containers, and any other clear glass containers.
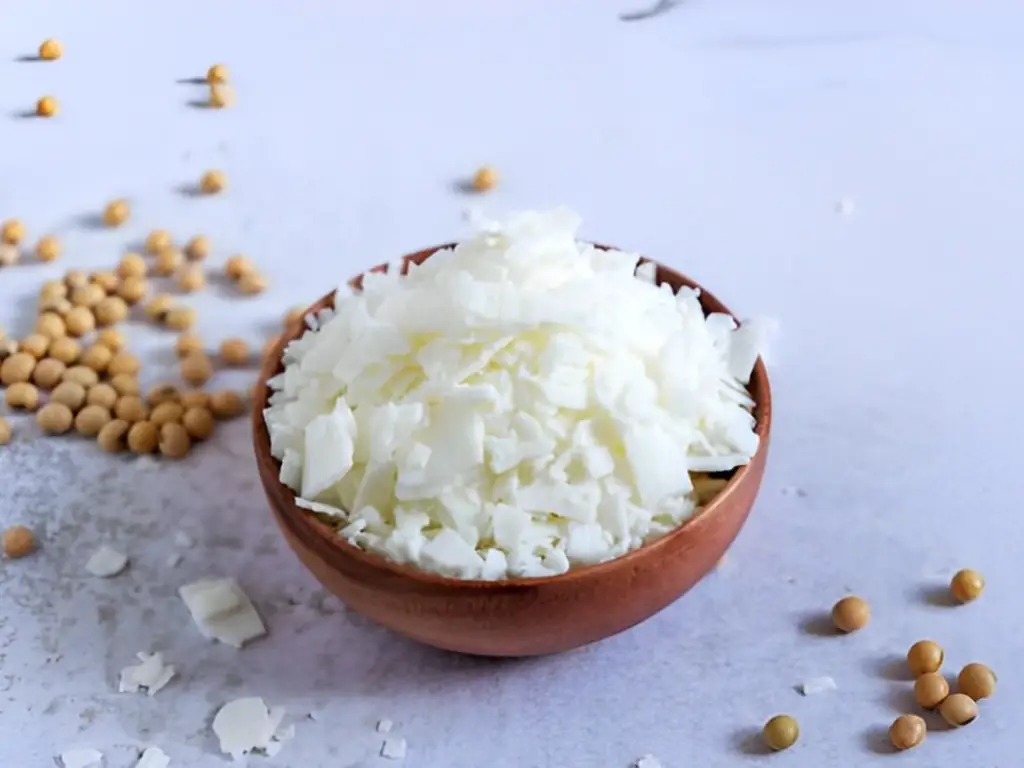
- Candle wax: The common choices are soy wax, paraffin wax, or beeswax based on your wish for burn time and environmental consideration.
- Wicks: It could be cotton or a wooden wick, depending on the size of your jar and what type of wax you use.
- Double boiler: To safely melt the wax.
- Thermometer: To check the temperature of the melted wax, making sure it’s not too hot or not too cold.
- Fragrance oils: For getting the scent of your candles.
- Dye: If you want to add color to your candles.
- Hot glue gun: To anchor the wick at the bottom of the vessel.
- Stirring utensil: A wooden stick/ stainless steel spoon for stirring wax/ adding fragrance or dye.
- Scissors: For trimming the wicks to their correct size.
- Decorative items: Such as stickers, ribbons, glitter, and paint can be used for the personalization of your candle jars.
These materials will set you up well for your candle-making journey, where you will be able to create candles for your home or as gifts that are unique and beautiful.
Choosing the Right Candle Containers
When embarking on a DIY candle jar project, the choice of candle containers is critical not only for its aesthetic value but also for its functionality. Given below are some aspects that you should take into account when deciding on your candle jars:
Materials: Glass is the most widely used material for candle jars because it is heat resistant and has a beautiful appearance, allowing the candle to be clearly seen. On the other hand, ceramic and metal are also some of the materials that can be utilized. Ceramic jars have a rustic, earthy look and are mostly good at keeping the heat, which allows for a more consistent fragrance. Metal jars, which are popular for outdoor candles, are durable and offer a contemporary look, but they must be used with precautions as they are conductors of heat.
Capacity: The size of jar you choose should match your intended use. The most popular sizes for DIY candle jars range from small 4 oz (approx. 118 ml) jars which are great for sample or gift candles to large 16 oz (approx. 473 ml) jars which are intended for candles meant for extended use. The size selection is important as it determines the burning time and the fragrance dispersion.
Shapes and Types: The shape of the jar can be a factor in how the candle burns and spreads the light. There are a variety of options which range from the traditional cylindrical mason jars to the more unique shaped triangle or square jars. Employing old jars, for example, mason jars, cream jars or interesting shaped food jars, not only gives a unique touch but also encourages recycling.
DAXIN glass candle jars are frequently used by DIY enthusiasts. For those who are searching for the best glass jars of the highest quality with candle making in mind, DAXIN glass candle jars are a great option. They are famous for their high heat resistance, which makes them safe and able to be used for a long time. The two features that make them stand out are their high clarity and hardness which not only make them look beautiful but also ensure that they last long. Furthermore, DAXIN offers customization options enabling you to perfectly match the jars to your customized design.
Through the consideration of these aspects—material, capacity, and shapes and types—you can select the most suitable jar for your DIY candle project. Whether you choose a long life DAXIN glass jar, a recycled antique container, or any other material that matches your style, the perfect container will add to the beauty and functionality of your homemade candle.
Choosing the Right Wax and Wicks for Your Candle Jars
The type of wax and wick that you use is very crucial to ensure the efficiency and safety of your DIY candle jars. Every kind of wax is meant to give a different result and it is suitable for various aesthetic and functional purposes.
Soy Wax: Soy wax, which is a well-known environmental friendly resource, provides a clean burning process that emits no pollutants. It has a lower melting point to increase the candle burning time and is a good partner for essential oils to produce fragrant candles.
Paraffin Wax: This is one of the most popular candle waxes due to its fantastic scent throw and its ability to create exquisite, long-lasting surfaces. Nevertheless, paraffin is obtained from petroleum and may produce soot when it is burning. Therefore, ventilation is necessary in order to prevent the smoke from releasing.
Beeswax: Prized for its natural honey-like fragrance, which is soothing and subtle, beeswax melts slower and cleaner than many other types of wax. Furthermore, it clears the air of harmful particles such as pollutants and allergens by emitting negative ions.
When it comes to wicks, choosing the right type is crucial for ensuring a clean, even burn:When it comes to wicks, choosing the right type is crucial for ensuring a clean, even burn:
Cotton Wicks: They are suitable for most varieties of natural waxes such as soy or beeswax. They must have the appropriate thickness so that they can burn without problems and without causing the candle to tunnel or produce excess soot.
Wooden Wicks: These wicks produce a gentle, crackling sound much like a fireplace and are ideal for creating a cozy ambience. The wicks made of wood needs to be combined with suitable wax of the right size of the jar in order to burn properly.
Braided Wicks: Normally, paraffin wax is the material used for these wicks that are curled slightly when burning to help maintain a steady flame and reduce soot emissions.
Selecting a proper wax type and wick is crucial to make your DIY candle jars operate optimally and safely. There are three types of waxes: soy, paraffin, and beeswax, each of them provides unique benefits including greenness, great scent throw, and air purification. Similarly to that, the wick type—whether cotton, wooden or braided—should be chosen according to the type of wax and the size of a jar in order to achieve the best burning. This is done by taking the time to examine these elements and you will be able to make candles that are not only beautiful and fragrant but also burn cleanly and safely.
Preparing Your Workspace for Candle Making
First and foremost, before you begin melting wax, you have to prepare your work area. A clear, organized surface is key to safety and efficiency. Put a newspaper or disposable cloth under your work to catch the spills of melted wax. To ensure safe handling of high heat, your work area should have heat resistant mats or trivets to place hot equipment such as saucepans and double boilers.
Besides that, proper ventilation is also one of the salient feature of the candle making space. Liquid wax and fragrance oils can produce fumes, especially when they are heated. So, it is good to work in a ventilated room or use a fan so that you can create a safe environment. The convenience of having all your materials and tools close by—like wax, wicks, fragrance oil, and dye—allows you to devote your attention to the craft without distractions.
Step-by-Step Process to Make Your First Candle Jar
Making your own DIY candle jars is a great DIY project to do on your own. Below is the precise, step-by-step tutorial that you can use to make your first candle.
- Prepare the jar: First, make sure that your candle jar is clean and dry. Any residue or moisture that remains in the glass can affect how the candle burns or sticks to the glass.
- Attach the wick: Put the wick in the middle of the jar. You can attach the base of the wick to the bottom of the jar with a wick sticker or a small drop of hot glue. To keep the wick in the center and straight when you pour the wax, you can wrap the end of the wick around a pencil or stick and place it on top of the jar.
- Melt the wax: Use a double boiler to melt the selected wax. In case you don’t have a double boiler, you can use a smaller pot or heat-safe bowl over a larger pot of boiling water. Gradually heat the wax to its recommended melting temperature, stirring every so often to make sure it melts evenly.
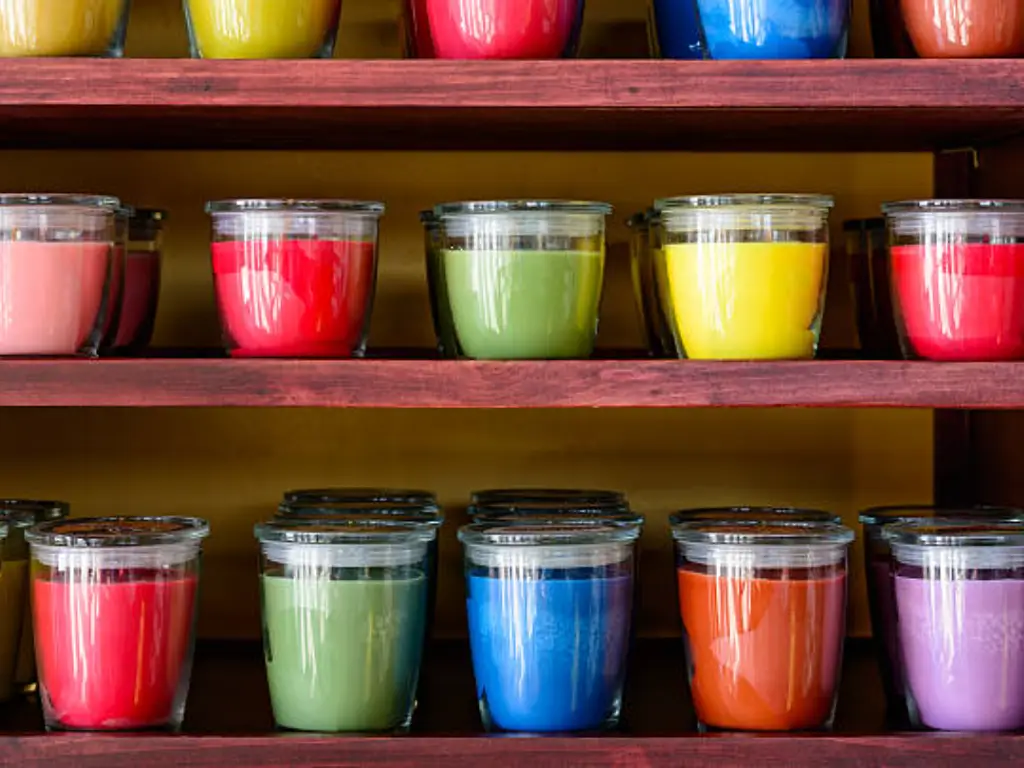
- Add fragrance and color: After the wax has been melted, take it off the heat. Now is the time to add dye or fragrance oil if you are. Stir slowly but really well so as to mix the color and smell evenly all over the wax.
- Pour the wax: Gradually pour the melted wax into the jar, without disturbing the wick. Fill the jar up to the desired level. However, leave some space at the top so that the candle doesn’t spill out when lit.
- Secure the wick: As the wax gets to cool and solidify, make sure the wick is still in the center. If it has been moved, carefully reposition it while the wax is still soft.
- Allow the candle to set: Let the candle cool off undisturbed for several hours until it is fully solidified. Do not move the candle during this period because vibrations can contribute to air bubbles or cracks in the wax.
- Trim the wick: Once the wax has solidified, trim the wick to about 1/4 inch above the candle’s surface. This feature provides a clean and even burning.
Follow the above steps, you can make a both beautiful and functional candle jar. Every step is important for the quality and safety of your home-made candle. Therefore, you will get a lovely addition to your home or a nice handmade present.
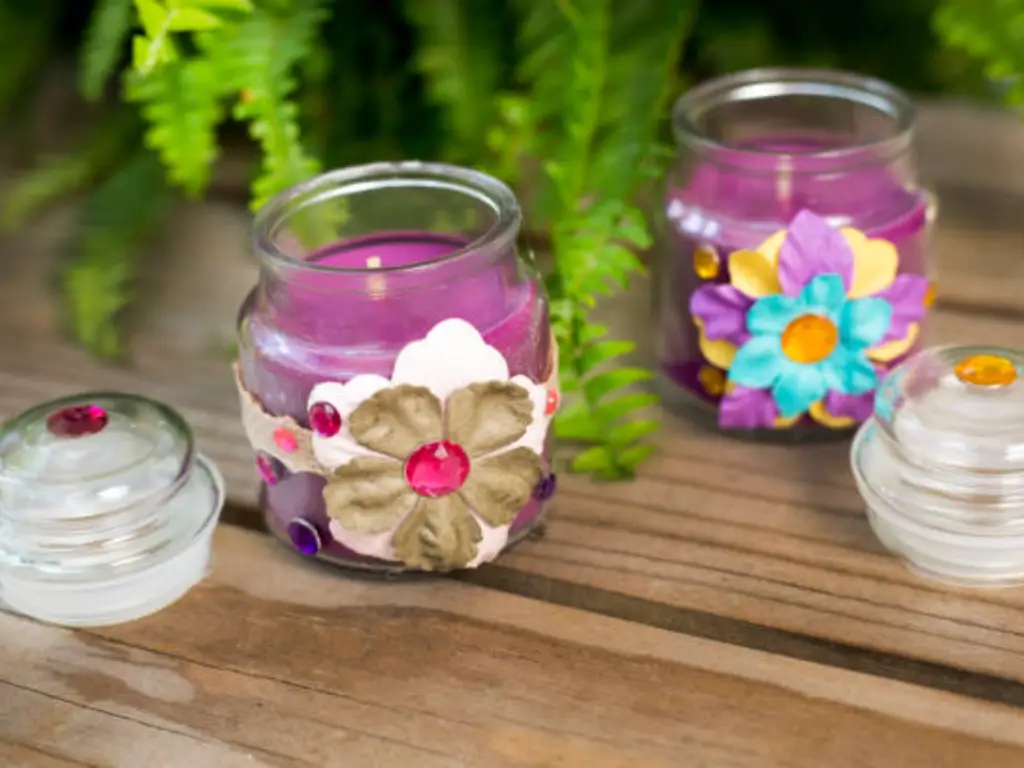
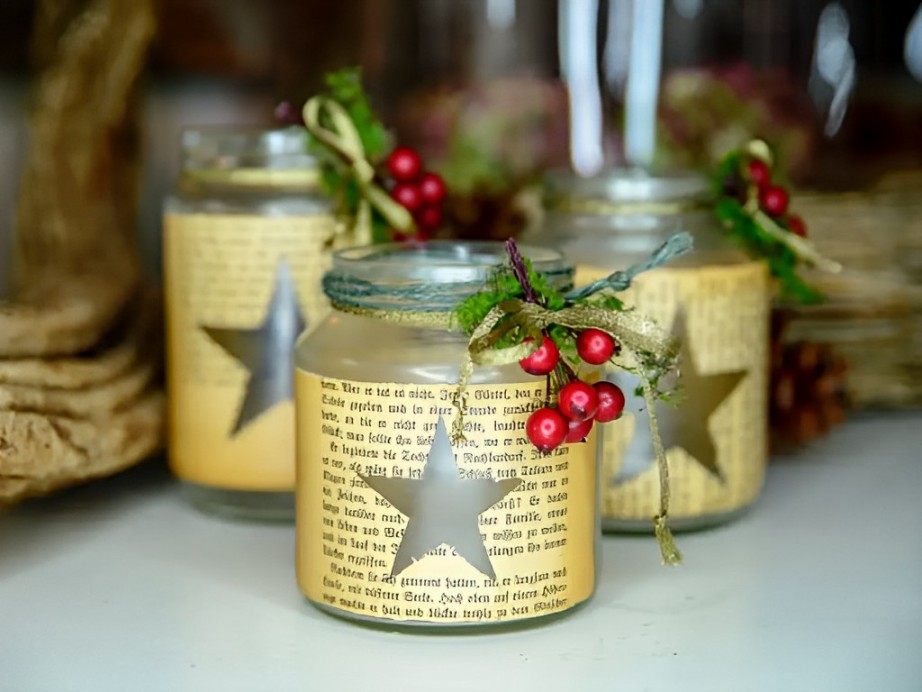
Creative Ideas for Decorating Your Candle Jars
Having learned the fundamentals of melting wax and setting up the wick, now it is time to add a little bit of pizzazz. DIY candle jar decoration can be as easy or complicated as you want. Apply stickers, paint or etch the outside of the glass jars to make your design stand out. Consider using decoration materials such as burlap, twine, or ribbons to give your jars a rustic touch, or glitter or metallic paint to give them a more glamorous look.
For the themed type, determine the purpose for which the candle will be lit. A Christmas candle may be decorated with red and green candies, while a romantic, candlelit dinner may require more delicate, romantic embellishments. The application of various colors of wax can be used to create such interesting visual effects too. Don’t forget the decorations should be not only beautiful but also safe and functional, that means they should not interfere with the process of the candle’s burning.
Tips for Perfecting Your Candle Making Technique
The core of candle making is solving everyday problems and improving your procedure. Here is how to make your DIY candle jars better:
Uneven Burning: It is a common problem that arises when the wick is not centered or when the wick size is not suitable for the jar and the type of wax. Make sure the wick is centered while you are pouring the wax and you can also use a wick that matches the diameter of your jar. If the wicks are too small, the candle may burn too fast, or if the wicks are too big, the candle may tunnel.
Wax Discoloration: Direct sunlight and fluorescent lighting may cause color change or fading of colored wax. Prevent this by storing your candles in a cool and dark place. Besides, dye with high quality and the correct mixing technique can also decrease the possibility of discoloration.
Improving Scent Throw: To make a candle with a stronger fragrance, check if you have added the right amount of fragrance oil (usually 6% to 10% of the wax weight) and pour the wax at the appropriate temperature. If it is too hot, the fragrance may evaporate, or if it is too cool, it might not stick well with the wax.
Through dealing with these common problems and perfecting your skills with each project, you will be able to create better candles and have better results with every project.
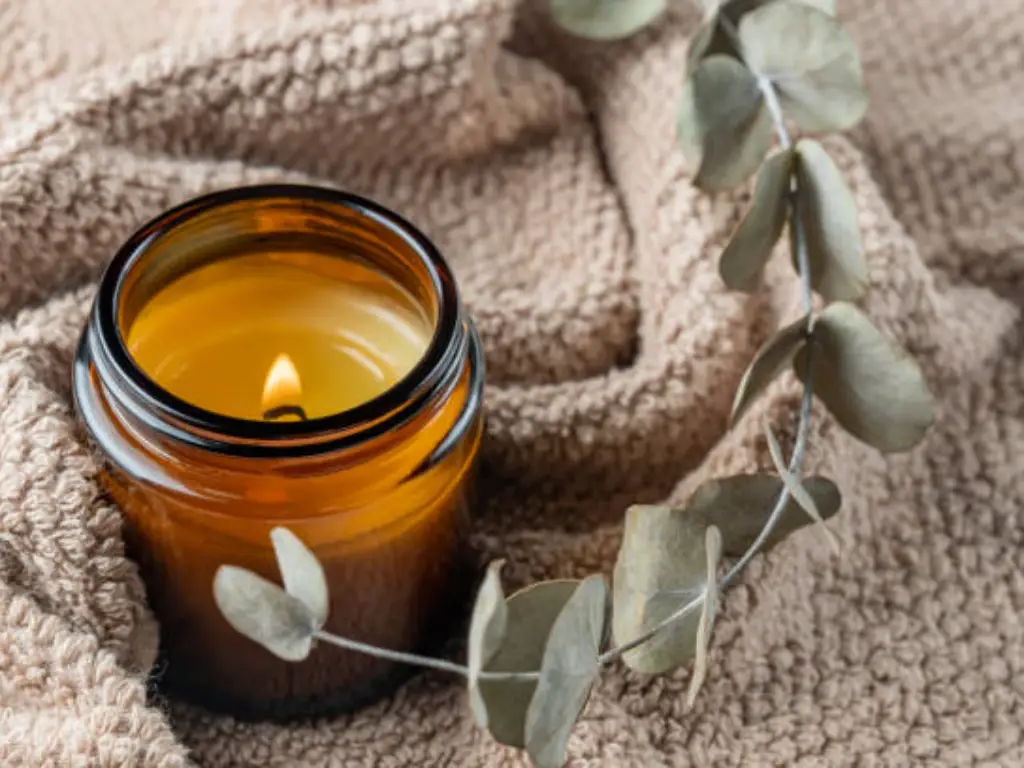
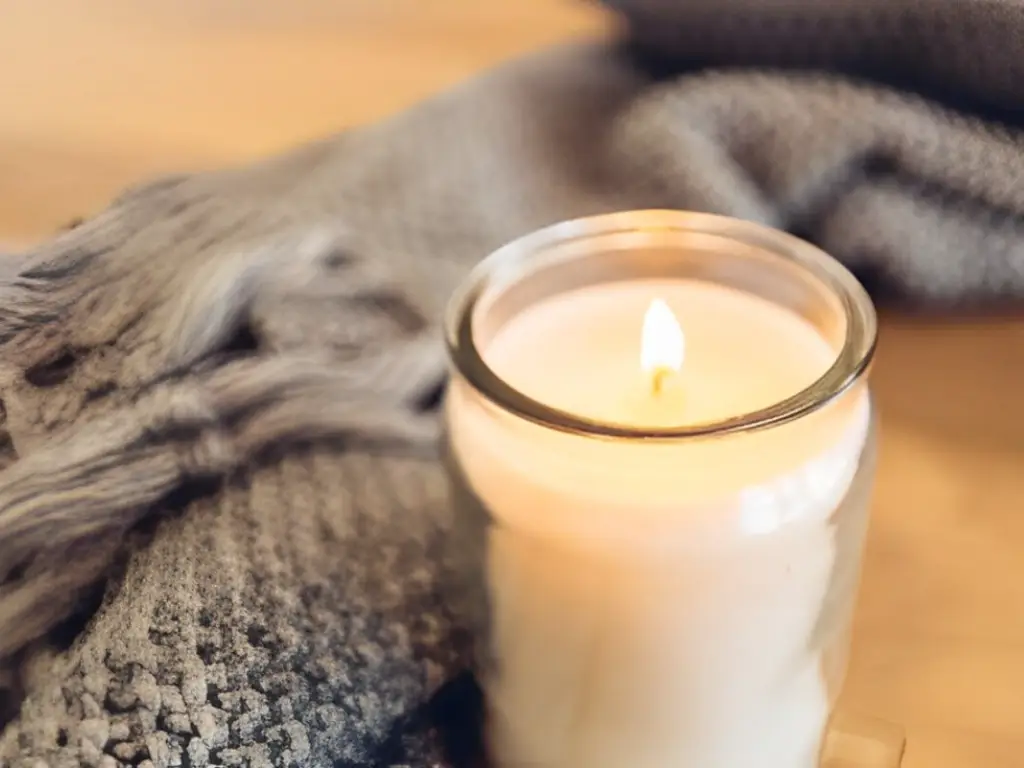
How to Care for and Display Your DIY Candle Jars
Considering the proper care and thoughtful display is the most important part of enjoying your DIY candle jars. Here are some tips to keep your candles looking great and burning efficiently:
Maintaining Your Candles: To keep a clean and uniform burn, it is important to trim the wick to about 1/4 inch before every use. This does not allow too much sooting and hence your candle will last longer. Besides, make sure you don’t burn your candle for more than four hours at a time to prevent the glass from overheating.
Storing Candles: Place your candles in a cool and dry area away from direct sunlight to avoid the wax from melting or discoloring. In case you use scented candles, place them in a tight container so that the fragrance does not evaporate.
Decorative Displays: Candles have the power to bring life to any setting. Grouping several candles on a mirrored tray or putting them in lanterns for outdoor decor are two examples of elegant coffee table arrangements. Remember that the candle jars’ style and color is important while including them in your decor; matching the candles to room themes or seasonal decorations can add a unifying and stylish touch.
By doing the maintenance and display according to these guidelines, your DIY candle jars will not only last longer but also be an attractive part of your home decor.