Introduction to Essential Oil Bottle Reuse
In the realm where the aromatic essences of Nature’s bounty reside, the bottles that house our essential oils are more than mere containers; they are treasure troves of potential. As aficionados of aromatherapy, we often find ourselves at the end of a precious bottle of essential oil, pondering — what now? The good news is, the life of an essential oil bottle doesn’t end with that final drop. In fact, learning how to clean essential oil bottles for reuse opens the door to a world brimming with resourcefulness and creativity!
To embrace the sustainable ethos, this guide will illuminate the path to breathe new life into empty essential oil bottles, transforming them from single-use vials to vessels of endless possibilities. Let’s not waste another minute. Or should I say, let’s not waste another precious oil vessel?
Understanding Essential Oil Bottles
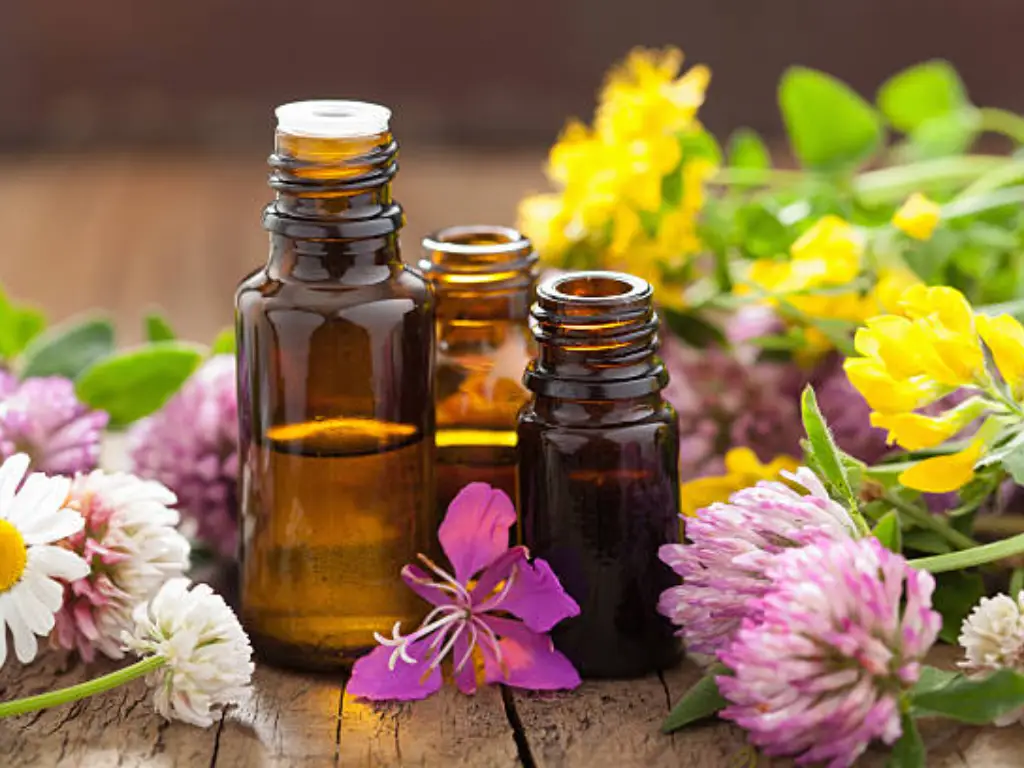
Before we delve into the methods to refurbish our aromatic companions, a brief dance with understanding their unique characteristics is in order. Within the sheltered confines of those amber-colored ml bottles, our essential oils remain unspoiled, their integrity unaffected by the invasive rays of sunshine.
Types of Essential Oil Bottles
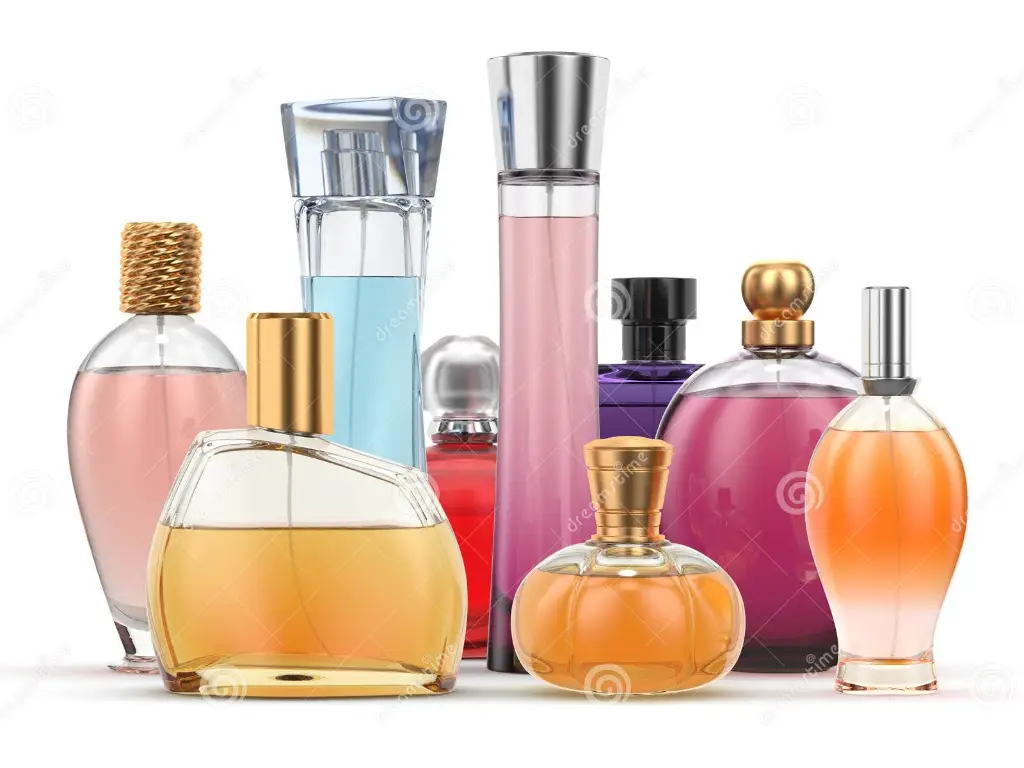
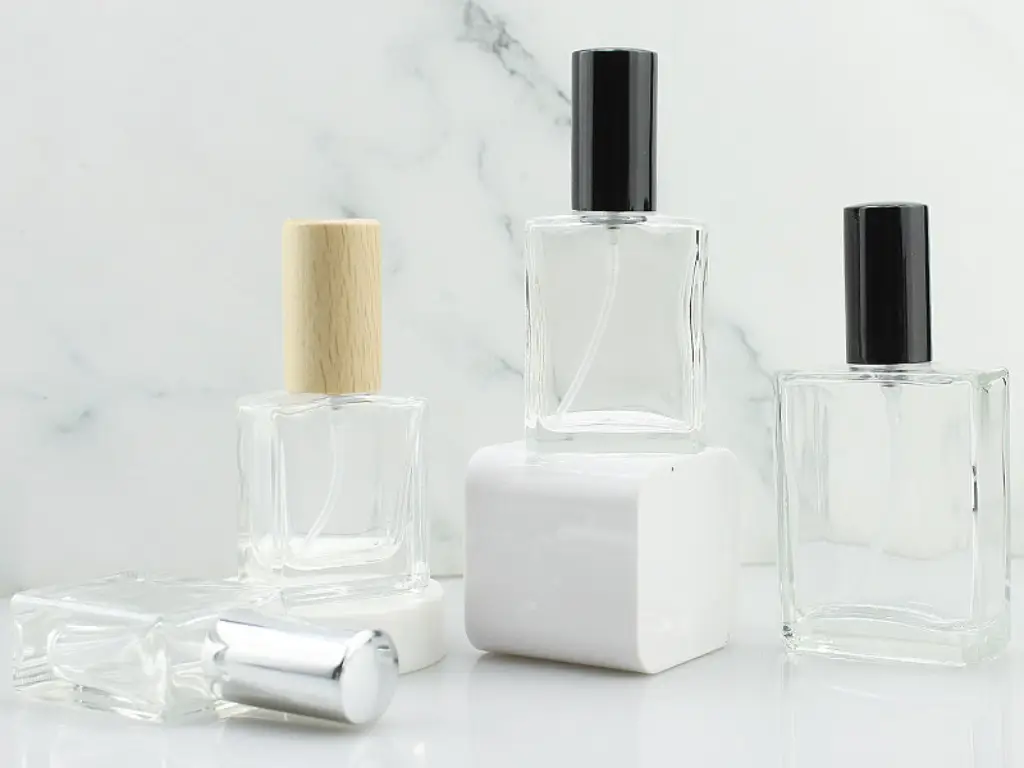
Our journey begins with recognizing the various guardians of our essential oils — from sample bottles perfect for blends to roller bottles for travel-sized essential oil blends. Some bottles, like the ml varieties, are ideal for personal use, while the small bottles can become part of a custom blend gift set or even become your own homemade diffuser.
| Bottle Type | Size and Use | Common Components | Features |
| Roller Bottles | Various, personal or on-the-go use | Glass bottle, roller ball top | Convenient for topical application, perfect for travel-sized essential oil blends |
| Standard Bottles | Small to medium sizes, general use | Glass bottle, orifice reducer, cap | Typical storage for essential oils, the orifice reducer helps to dispense oil in small amounts |
| Sample Bottles | Small bottles, for samples or custom blend gift sets | Glass bottle, cap, optional reducer | Perfect size for creating and sharing samples or gifting custom blends |
| Diffuser Bottles | Small to medium, can be adapted to homemade diffusers | Glass bottle, any suitable top (dropper, roller) | Once cleaned, it can be used to house DIY diffuser blends, or single oils for aromatic diffusion |
Materials and Components
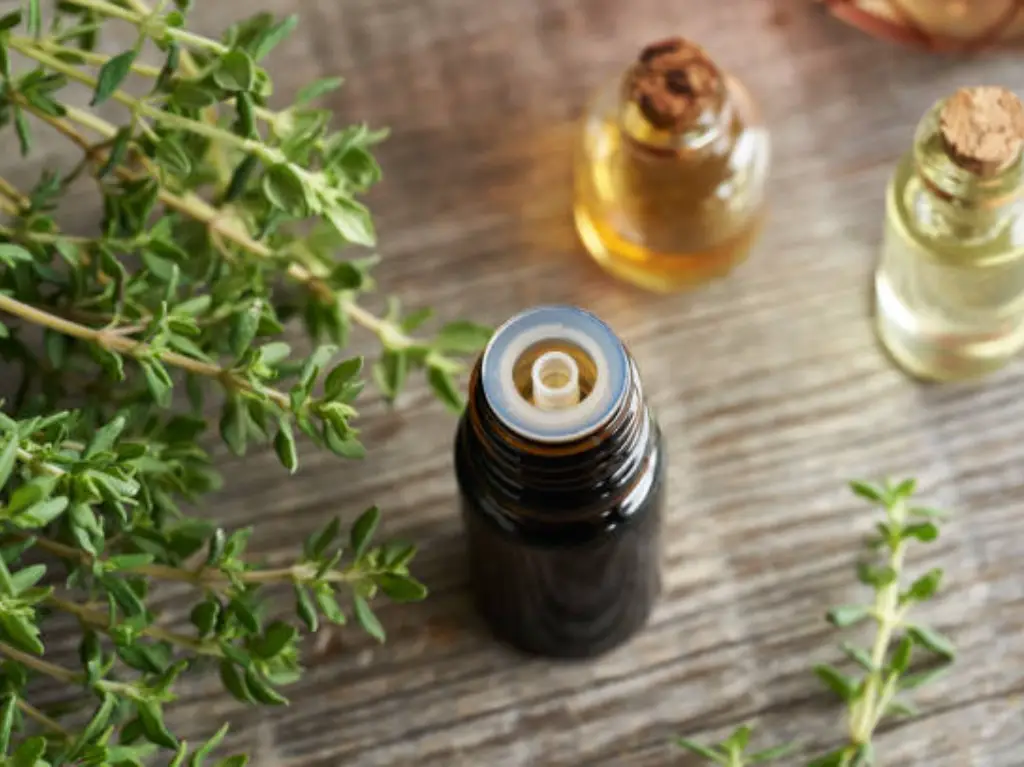
An essential oil bottle is more than just a glass container; it’s a crafted assembly of several parts. The cap, often equipped with an orifice reducer or dropper, seals the contents and offers controlled dispensing of the essential oil. Some may even come with spray tops or treatment pump tops for varied applications. The sticky residue from old labels and the plastic ring that often clings to the bottle’s neck are remnants of its former life, waiting to be dealt with in this cleaning odyssey.
Pre-Cleaning Preparation
As we set the stage for renewal, the guardians of our fragrant elixirs deserve painstaking attention. Before we immerse ourselves into the heart of the cleaning process, let’s ensure our arsenal is brimming with the right tools. You will need:
- Warm Soapy Water: The gentle lather of soapy water will be our primary solvent in dislodging residual essential oils and ushering away the remnants of their past.
- Dishwashing Liquid: Opt for a formula that’s adept at cutting through greasy residues, typically one bolstered with the muscle to counteract oil’s tenacious grip.
- Bottle Brush: Long, slender, and limber enough to navigate the inner sanctum of every ml bottle, the brush is essential for scrubbing hard-to-reach spots within the bottle’s interior.
But our pre-cleaning ritual calls for more:
- Rubber Gloves: To shield your skin from the drying effects of hot water and protect against any sharp edges or residues.
- Rubbing Alcohol or Vodka: These act as effective solvents for dissolving stubborn essential oil remnants and aid in sterilization.
- White Vinegar: A natural descaling agent, vinegar excels in breaking down adhesives left from labels and helps remove water deposits.
- Baking Soda: In combination with vinegar, it creates a fizzing action that helps dislodge sticky substances.
- Small Basin or Bowl: A vessel for soaking and treating the bottles with our cleaning solutions.
- Soft Cloth & Cotton Swabs: To wipe down the exterior of the bottles and delicately cleanse the grooves and crevices.
- Plastic Tubing (optional): If you have dropper bottles, using a piece of plastic tubing to clean the droppers can be very effective.
- Tongs or Tweezers: These are useful for retrieving bottles and components from hot water without risking burns.
Armed with these instruments of renewal, you stand ready to escort every essential oil bottle through its metamorphosis, from vessel of bygone essences to a beacon for new blends. With each bottle’s rehabilitation, we not only get a sense of achievement but also contribute to a cycle of sustainable living. Let’s begin!
Step 1: Emptying the Bottles
If there’s any lingering essential oil, pouring warm water into the bottle can help in collecting those last precious drops, or perhaps a capful of thieves might be used to loosen them. One could use this mixture as a potent cleaning agent itself, or save it for future use in a custom blend or diffuser. Be mindful not to waste even the faintest whiff of those treasured scents—they could still be put to good use.
Step 2: Removing Labels and Residue
Peeling off the old labels might leave behind a stubborn, sticky residue—a testament to the bottle’s previous identity. Fear not, as a little soak in hot water perhaps with a splash of vinegar, vodka, or a citrus-based solvent could do the trick. If not, a trusty fingernail or a flat-edged tool can scrape away those persistent bits. A cotton ball drenched in an adhesive remover can also bid farewell to any vestiges of glue that cling to the outside of the bottle.
Step 3: Disassembling the Bottles
Disassembling your essential oil bottles could be likened to a gentle art—separating each part with care, ensuring none are lost or damaged. Remove the dropper, the cap, and any other removable parts, like the orifice reducer or pump tops. These pieces will be cleaned separately to ensure no corner of your bottle harbors any residue or bacteria.
Step 4: Soaking and Washing
Fill a basin with warm soapy water and let your disassembled bottles, caps, and droppers take a relaxing dip. This is where your bottle brush will shine, making its way inside the bottles and into every crevice to eradicate old oils and impurities. A gentle swirl in the soapy water is often the best way to treat your precious oils’ former homes with the care they require.
Step 5: Deodorizing and Removing Oil Residue
Even after a thorough wash, the lingering scent of peppermint or lavender might persist, haunting the bottle like a fragrant ghost. A rinse with a simple solution of warm water and epsom salt can help neutralize these odors, preparing the bottle for new scents. It’s like wiping the slate clean, ensuring that your next blend isn’t tainted by the ghosts of aromas past.
Step 6: Sterilizing Your Bottles
Sterility is paramount, especially if you’re considering repurposing your bottles for skin care concoctions or homemade remedies. Boiling them in hot water for a few minutes will usually suffice, but a more thorough approach might involve a drop of vinegar or even an alcohol rinse. This step is akin to a purifying fire—it not only sterilizes the bottles but also signals a rebirth, readying them for their new contents.
Step 7: Drying and Reassembling
With meticulousness, dry each component with a clean paper towel or let them air dry completely to prevent any moisture from sullying your efforts. Only when they are bone-dry should you consider reassembling the parts. Remember, even a single droplet of left-over water could be the difference between preserving your new blend perfectly or falling victim to contamination.
Innovative Reusing Ideas
Creative DIY Projects
Consider converting those empty essential oil bottles into miniature diffusers or filling them with your own blends to gift to friends and family. Let your imagination run wild—a tiny vial could become a bedazzling pendant or even a portable aromatherapy aid.
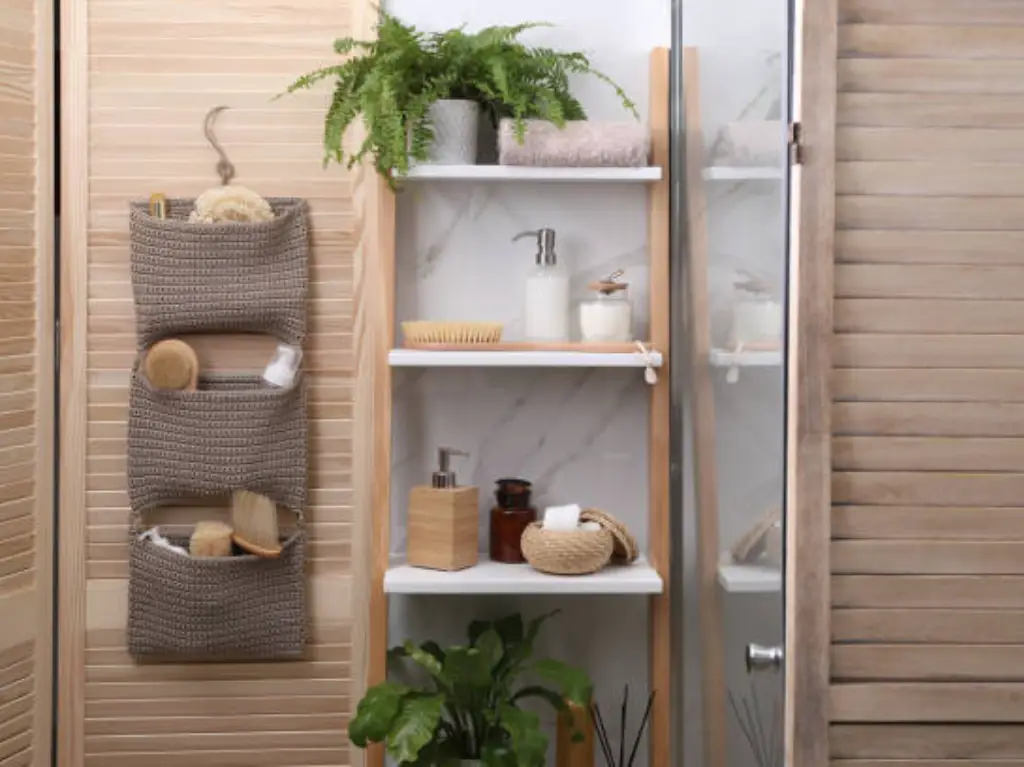
Practical Uses in Daily Life
An empty essential oil bottle doesn’t need to lie dormant. Fill it with aromatherapy accessories, create a travel-size sanitizer by adding a spray top, or harness their small size to store small amounts of your go-to products for trips and outings.
Tips for Storing Clean Bottles
To guarantee the maintenance of the optimal condition for your meticulously cleaned essential oil receptacles, a stratagem that entails a perspicacious approach to storage is imperative. Subsequent to the assiduous sanitization and desiccation of each vessel, the imperative lies in the identification and preparation of a storage milieu that boasts a consistently low temperature, devoid of light exposure, and aridity; such an environment mitigates against the propensity for microbial proliferation and mycotoxin contamination. An appropriately allocated storage compartment, shielded against ultraviolet radiation and oscillations in ambient conditions, provides a sanctuary conducive to the preservation of the structural integrity of your containers. Ensuring upright positioning mitigates the risk of inadvertent leakage, while the utilization of a compartmentalized container or bespoke receptacle serves to curtail disarray and preempt the eventuality of damage through impact. These procedural steps are not merely preservative measures but serve to fortify readiness, thereby when the impetus for concocting your subsequent infusion of essences arises, your vessels are primed to encapsulate and convey the pure essence of herbal delight anew.
Conclusion
Through this guide, we’ve embarked on a transformative journey, giving a second life to what many would consider waste. By cleaning and repurposing essential oil bottles, we embrace a sustainable mindset, celebrate creativity, and, if I may say, become custodians of our precious environment.
So, the next time you hold an empty bottle of essential oil, I hope you recall the words of this guide and feel empowered to embark on your own journey of reuse, fully equipped with the knowledge of how to clean essential oil bottles with care and imagination.