
A glass bottle hides nothing. Every line, bump, and flat band on it was put there by a mold. Each one decides how the closure that meets it will behave: whether a cap twists home, whether a pump actually seats. Most buyers meet this vocabulary only after something goes wrong, and by then the mistake already has a price tag. The pump never seats. The lid sinks so deep it swallows the jar’s rim. The cap fights the wick inside. These parts are the terms of a contract between the bottle and everything that snaps onto it. Like any contract, they cost little to read up front and a lot to renegotiate later.
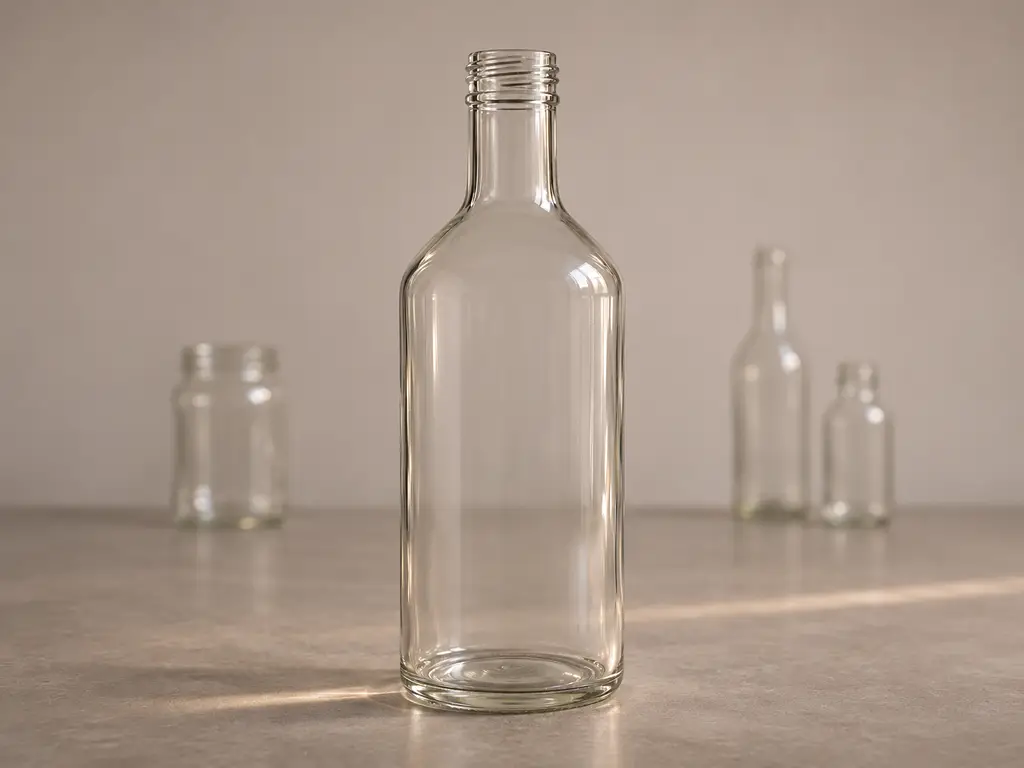
Parts of a Glass Bottle: The Complete Top-to-Bottom Map
Start at the top. The mouth is the opening itself, and its topmost flat ring is the sealing surface: the annular band where a closure’s gasket actually lands. One step down sits the finish, the molded section that carries the thread, the sealing surface, and the vertical height that a closure skirt must cover. Packaging engineers treat the finish as the bottle’s identity card, because that is where the closure handshake happens (TricorBraun).
Below the finish you will often feel a horizontal ridge. That is the transfer bead, the seam left where the two halves of the neck-ring mold met during forming. Machines grip this ridge to carry the bottle through the line, and it doubles as a visual stop that tells you where the finish ends and the neck proper begins. The neck is the straight vertical run that carries glass from the opening down toward the container’s widest zone.
The shoulder is where the neck flares into the body. A long sloping shoulder spreads glass gradually and gives a soft profile; a sharp shoulder turns the transition into a hard edge that can double as a label boundary. The body stores the product, and it also carries quiet variation in wall thickness: molded glass runs thicker at some zones than others, which is why two bottles of equal capacity can feel nothing alike in the hand.
At the bottom, the heel is the tight curve where the body turns into the floor, and it is the single most stress-hungry zone on the container: impact there travels straight into the base. The base itself carries a flat contact ring called the bearing surface, where the bottle actually stands, often surrounding a slightly concave dome known as the push-up, which stabilizes the bottle and distributes glass where molds wear first.
One last set of marks runs the full height: the mold seams, the faint vertical lines where the mold halves closed. They are not defects. Their position is designed, and one rule is absolute: a seam must never cross the sealing surface, or the gasket will never sit flat.
Packaging vocabulary, though, is full of collisions. “Finish” the glass part has nothing to do with “finish” the sprayed or plated surface treatment, and buying conversations use both within the same sentence. A “collar” on a perfume pump is a metal ring around the sprayer, not the transfer bead molded into the glass. And “cap” in casual speech swallows the entire top assembly, pump and actuator included, which is exactly the ambiguity that causes wrong orders. This article locks each term to one meaning and keeps it there.
Why the Same Bottle Speaks Three Closure Languages
Once you know the parts, the next surprise is that the finish at the top does not obey one standard. It obeys three, and they do not talk to each other.
The screw-thread system is the one most people know. Glass containers in the food, candle, and cosmetic space follow the GPI/SPI coding: the first number is the outer thread diameter in millimeters, the second is the thread style, where 400 means one full turn, 410 means one and a half, 415 means two narrow turns, and 425 is a buttress profile with thick threads and a top bead (SKS Bottle & Packaging). A jar marked 18-400 takes an 18 mm lid with a single-turn thread (The Bottle Depot, 2026). Some codes are so stable they outlive their makers: regular and wide mouth mason jars have kept their 70 mm and 86 mm diameters and thread patterns for over a century (Mason Jar Merchant), which is why a replacement lid bought today still threads onto a jar your grandmother canned in.
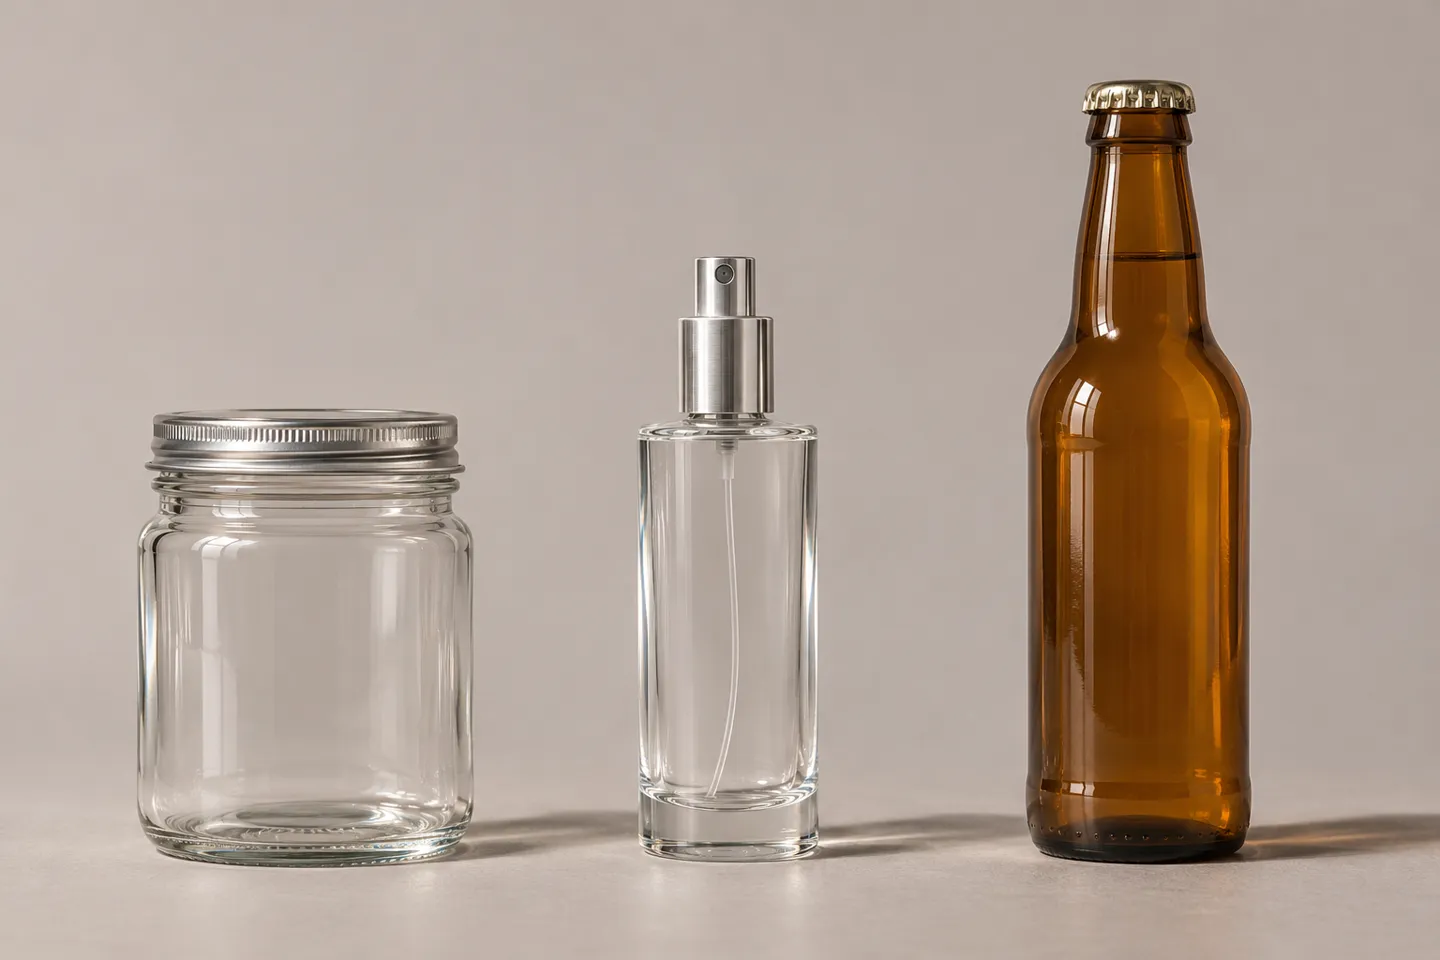
The crimp system is the perfume world’s native language. Instead of threads, the glass carries a smooth finished neck, and the pump is clamped onto it under pressure, with the metal collar deformed to lock the assembly. The families are standardized in Europe as EN 14854:2021, “Glass packaging: Dimensions of neck finishes for aerosol and spray glass containers” (Cetie). It covers nominal diameters from 11 through 20 mm, known in the trade as FEA 11 to FEA 20 (Jarsking, 2026).
The crown system is the oldest member: the flared lip with a corrugated skirt that a crimped metal crown cap grips, still doing its job on every beer bottle.
The three systems coexist because they solve different problems, and the container category usually tells you which one you are holding:
Three closure systems at a glance
| System | Where you meet it | What the code encodes | The parts that mate |
|---|---|---|---|
| GPI/SPI screw (18-400, 24-410, 70G-450) | candle jars, mason and food jars, lotion and beverage bottles | outer thread diameter in mm + thread turns or profile | finish, gasket or plastisol liner, screw cap or lid |
| FEA crimp (FEA 11 to FEA 20) | perfume and fine-fragrance spray bottles | nominal neck diameter in mm per EN 14854:2021 | finish, spray pump, collar, actuator |
| Crown | beer and beverage bottles | flared lip geometry for a crimped metal cap | lip, crown cap, liner |
Category adds its own accents on top of the systems. A perfume bottle’s top is really a trio: pump, collar, and actuator, all agreeing with the finish before the first spray. A candle jar’s battle is vertical: the lid must clear the wick and whatever wax height the pour left behind. A food jar seals by vacuum through a two-piece lid, where a plastisol liner does the sealing work and the band only holds it down. Same anatomy, three different negotiations.
How to Measure a Neck Finish and Match It to a Lid or Pump
Names turn into power the moment they turn into numbers. This is the section to work through with calipers in hand, before you order caps, pumps, or replacement lids for anything.
What the calipers must capture
Outer thread diameter: across the threads, not the mouth opening.
Thread style: count the turns; 400, 410, and 425 feel different under a finger.
Finish height: sealing surface to transfer bead, because the skirt must cover it all.
Measure First: The Three Numbers That Decide the Fit
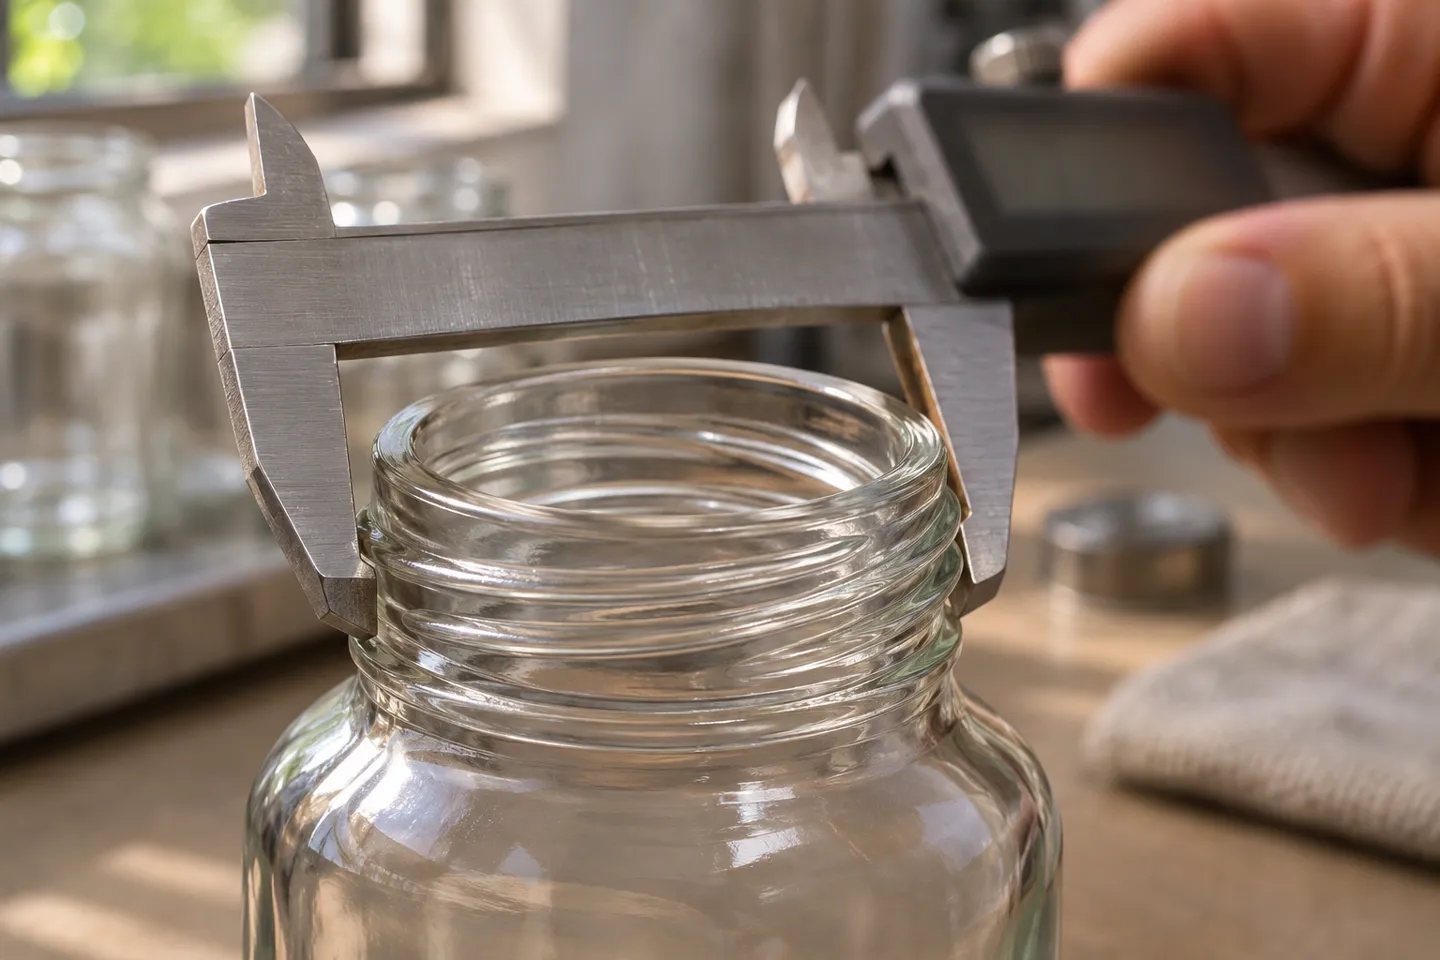
The first number is the outer thread diameter, measured across the widest span of the threads, not across the opening. A 20-400 finish measures about 20 mm across the outside of its threads (The Bottle Depot, 2026). This is the number people measure wrong most often, because jars are often described by inner opening diameter while lids are sold by outer thread diameter. Measure both on your actual jar before ordering any replacement, or the millimeters will not agree.
The second number is the thread style and turn count. Run your finger around the finish and count. One full revolution points to a 400-style finish; a longer spiral points to 410; a profile with thick rounded threads and a bead points to 425 buttress (SKS Bottle & Packaging). The style decides how many rotations a cap needs to seat and how resistant it is to backing off.
The third number is the finish height, from the sealing surface down to the transfer bead, because every closure has a skirt that must cover exactly that much glass. Too shallow and the cap rocks; too deep and it vanishes over the shoulder. For candle jars, add one more measurement that is not on the glass at all: the stacked height of wick plus trimmed wax versus the lid’s internal clearance.
Four Fit Failures and What Each One Really Means
Every “it doesn’t fit” complaint in this category reduces to one of four causes, and each has a different remedy:
Fit failure diagnosis
| Symptom | Actual cause | Check first | Next move |
|---|---|---|---|
| Lid sinks too far down | closure skirt deeper than finish height | measure skirt depth against finish height | match depths, not just diameters |
| Lid jams on the wick | stacked height interference, wax level or wick too tall | measure wick top to rim vs lid clearance | trim wick or choose a shallower lid |
| Pump will not seat on the neck | crimp system needs a press tool, or FEA size mismatch | confirm finish diameter and pump family | FEA15 pump will not seat on an FEA18 neck, match families before ordering (Jarsking Global, 2026) |
| Thread grinds or slips | tolerance drift or mixed batches | check finish code and batch consistency | request the finish code and tolerance in writing, not a promise that it fits |
The pump case deserves its own warning. A crimp pump is clamped onto the neck with a crimping tool and is not designed to be removed or retrofitted by hand (Erbatur Glass, 2026). DIY fragrance makers discover this wall the hard way, holding a perfect FEA15 pump and collar with no way to seat them. The failure is not in the parts. It is in the assumption that closure matching can happen after the bottle arrives.
Crimp or Screw: The Decision That Locks the Rest of the Bottle
At sample scale, a wrong closure is a cheap lesson. At order scale, the finish you choose decides your pump options, your filling line, your tamper story, and your refill positioning, all at once. This is the decision worth slowest thought.
Choose by Filling Scenario, Not by Silhouette
If the bottle’s life ends at the consumer, crimp wins. A crimped pump cannot be quietly refilled or swapped, which protects the brand and reads as tamper evidence, and the smooth skirt gives the silhouette most fragrance buyers expect. FEA15, the 15 mm family, is the standard choice for small and medium fragrance bottles, typically 10 to 50 ml (Packamor, 2026). The price is tooling: crimping needs matched press equipment, and the pump family must match the finish exactly.
If the bottle’s life continues after the first open, screw wins. Refillable home fragrance, lotion bottles people decant into, food jars opened weekly: all of them need a closure the consumer can work repeatedly, and screw threads deliver that at zero tooling cost. Spare parts exist too: a lost pump can be replaced by the user instead of the factory.
The filling line sits underneath both choices. Crimp lines need press heads matched to the finish family; screw lines need only torque control. Changing your mind about the closure family after either line is set means retooling, so this decision belongs before the bottle order, not after the filling equipment arrives.
Before the filling line is set, send Daxin your crimp-or-screw scenario and get the closure family confirmed against your finish code.
Confirm Your Closure FamilyOne more layer decides leaks regardless of system. A seal is a chain of three: the flatness of the sealing surface, the gasket or liner material, and the torque that presses them together. Crimp removes human torque from the chain but adds tooling tolerance; screw keeps tooling simple but inherits whatever torque the filling line applies. When a bottle leaks, one of those three links failed, and the checklist below is how you make sure none of them is left to chance.
The Confirmation List That Goes Into the Order
Everything above compresses into one table. Before any glass order is signed, these seven lines belong in it, each with a number or a named sample attached:
Pre-order confirmation matrix
| Part | Confirm in writing | What mismatch costs later |
|---|---|---|
| Neck finish | finish code: diameter, thread style, tolerance | pumps and caps that will never seat |
| Finish height and sealing surface | height in mm, flatness spec | rocking caps, slow leaks |
| Gasket or liner | material named (PE, plastisol, and so on), compatible with your product | swelling, flavor transfer, seal failure |
| Closure system | pump or cap family matched to the finish code | a top assembly that looks right and seals wrong |
| Total stacked height | closure top vs wick, wax level, or tamper band | lids that jam or sit proud on shelf |
| Tooling | crimp head or torque spec matched to the finish | filling line stoppages on day one |
| Golden sample | a signed physical sample of bottle plus closure | no arbitration basis when batch two differs |
3 mm
off at the neck means a pump that will never seat.
Closure matching is decided when you order, not when you assemble.
How a Glass Manufacturer Locks These Specs Before Production
On our floor at Daxin, this list is not advice, it is sequence. We run it in three moves. First, sample confirmation: your drawing becomes a 3D-printed sample, then a fired bottle sample, so the finish exists in your hand before any mold steel is cut. Second, the parameter lock: finish code, tolerances, gasket, and the matching closure are written into the order as one set, never as separate favors (Daxin Glass). Third, batch replication: first pieces off the line are compared against the locked sample, and per-order sampling keeps defect rates under two percent before anything ships, with the pass bar at 98 percent (Daxin quality management).
Stock molds change the math in your favor. A catalog finish is already fixed, so matching caps and pumps come straight from existing stock, and that is exactly what the lowest order tiers reflect: 1,000 pieces for stock items, 5,000 for custom finishing, 10,000 for full custom (Daxin Glass). A custom mold goes the other direction: the finish follows your filling line and closure choice instead of the reverse. Both paths work. What they share is that the finish gets locked before production, not discovered after it.
From drawing to locked batch
Sample
Drawing to 3D print to fired bottle, before any mold steel is cut.
Lock
Finish code, tolerances, gasket, and closure confirmed as one set in the order.
Replicate
First pieces checked against the locked sample; per-order sampling holds defects under 2 percent.
How the Glass Itself Decides Whether Your Finish Works
The finish is the one part of the bottle formed entirely inside the mold. Its quality therefore tracks two things: mold condition, and how steadily the machine feeds glass. Fine openings up to about 30 mm, the perfume and essential-oil territory, are formed by a blow-blow process. Wider mouths, the candle jar and diffuser territory, take press-blow. Feed consistency matters at the level of grams: the glass gob delivered to the mold is held within roughly half a gram to a gram of target weight, and that discipline is what keeps the thousandth bottle’s finish as true as the first.
Then the bottle goes somewhere buyers never see: the annealing lehr. Glass leaves the forming machine under stress, and the lehr soaks it at around 520 to 560 degrees Celsius and cools it on a controlled curve so the stress relaxes out of the walls. A finish that leaves this stage uneven will pass every visual check at the door and still crack weeks later, on your filling line, the moment the closure is torqued or the pump is crimped.
The annealing lehr is the only equipment in the line a buyer never sees, and it is where many finish failures are quietly decided. Two questions worth asking any plant: what is your annealing window, and what do you check at the finish, specifically?
Which checks live at the finish itself. Sealing surface flatness, because a gasket cannot compress across a wave. Verticality, because a finish that leans by a degree makes every pump look crooked and every filling nozzle snag. Thread completeness, with no fin blowouts or chips at the sealing edge. And delivered robustness: a properly annealed container shrugs off thermal shock from minus twenty to plus eighty degrees Celsius, which is what carries the bottle through a hot-fill line and a consumer’s dishwasher.

Turn the Parts List Into Your Order-Side Safeguard
It is worth being blunt about what mismatch costs, because the invoice is the smallest of the three numbers. The bottle’s price is the first number. The second is the filling schedule that slips while replacement closures are sourced, sampled, and shipped. The third is the launch window that closes while round two happens. Bottle buyers rarely lose money on glass; they lose it on the calendar attached to the glass.
That is why the parts list only has value when it leaves the article. A checklist read is knowledge. The same checklist written into a purchase order, with the finish code, tolerances, gasket material, and golden sample named line by line, is a safeguard. For manufacturers who arrive with their own drawings, the discipline is the same in miniature: lock the finish first, because every other component in the project inherits it.
Get the Closure Set Matched to Your Finish
Send a finish drawing or a bottle shortlist; the matching closure set comes back with the tolerances included.
Send Your Finish DrawingReferences
- CETIE. “Finish Data Sheets, GME — EN 14854 Glass Packaging Neck Finishes.” https://www.cetie.org/en/finish-data-sheets-gme_102.html
- Foxhound Bee Company. “70 mm Mason Canning Jar Lid — 70G-450 Regular Mouth.” https://www.foxhoundbeecompany.com/products/mason-jar-lid-gold

 English
 Spanish
 French
 German
 Arabic
 Italian
 Dutch
 Portuguese
 Russian
 Korean
 Japanese